Launch Your Usage-Based Pricing Model with Metronome and Postman

This is a guest post written by Michael Coughlin, growth architecture at Metronome.
As usage-based pricing models continue to gain traction, software companies are faced with increased billing complexity that impacts every team—from sales to engineering to finance. Metronome is a real-time, usage-based billing platform that helps businesses launch, iterate, and scale their business models. We take care of the technical heavy lifting (metering, aggregation, pricing, and invoicing), so you can automate and scale your billing operations.
Metronome has an API-first approach, and we maintain our API as an OpenAPI spec that is supported by rich documentation. In this blog post, I’ll walk through how to use the Metronome API in Postman to get your usage-based business model up and running.
Getting started
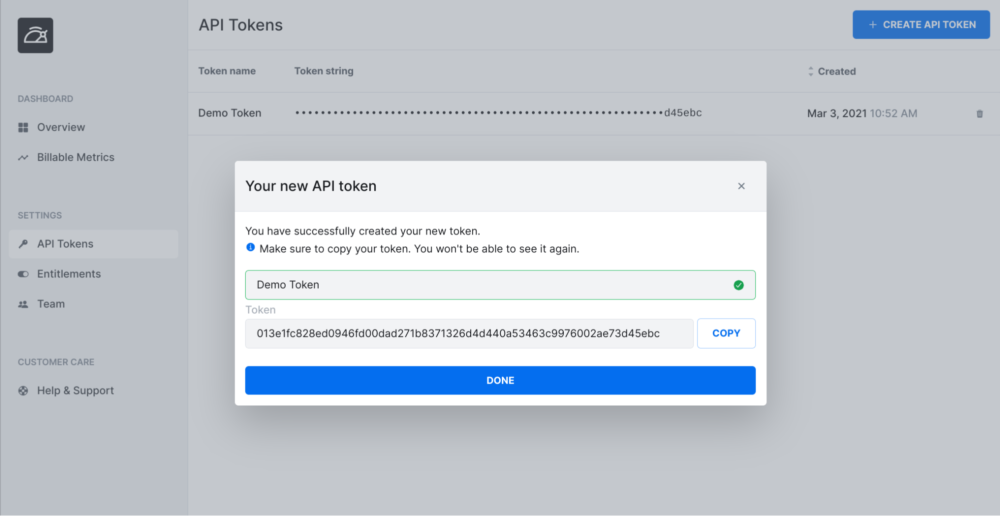
The first step is to request a Metronome and Postman account. Once your accounts are set up, go to the API Tokens section in the Metronome UI and create a new token.
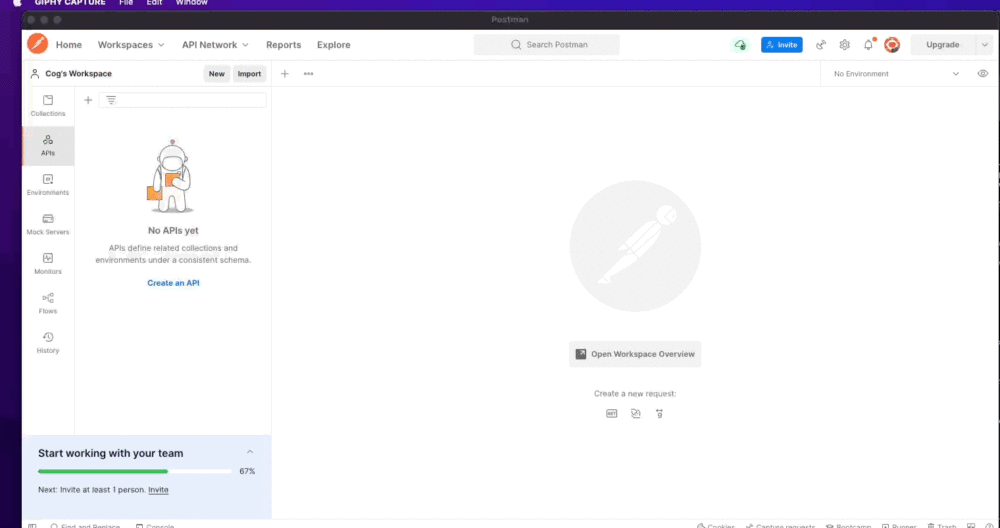
Now that you have your Metronome account and API token, it’s time to set up the Postman Collection. There are two options to get your collection set up:
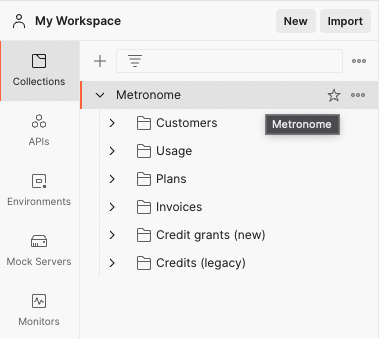
1. Fork the Metronome collection.
To fork the Metronome collection, go to this link and select the Metronome Public Collection.
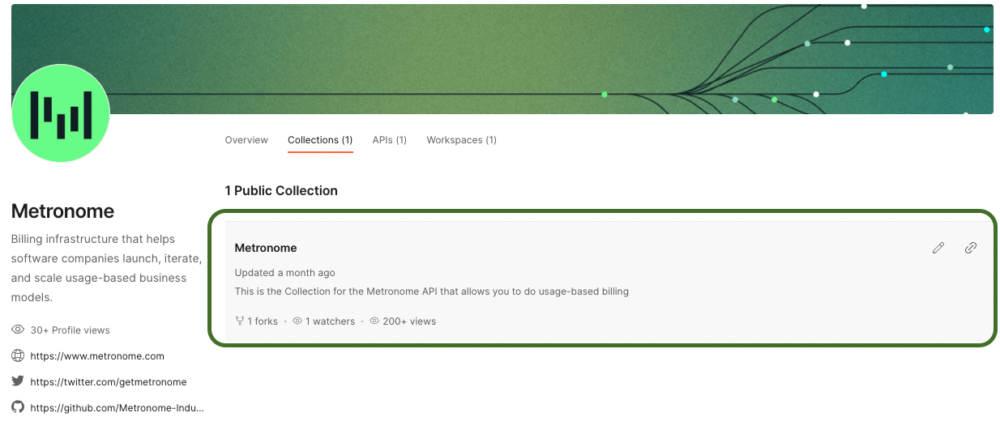
Once you are redirected to the collection within the Metronome public workspace, click the ellipses next to the collection name and select Create a fork. In the Create fork tab give your fork a label, choose a workspace, and click the Fork Collection button.

2. Import Metronome’s OpenAPI spec.
Postman allows you to import an existing OpenAPI spec. To import Metronome’s spec into Postman, go to File > Import. Select Link from the top menu, and use this link. On the next pane, select Show advanced settings and make sure the Folder organization is set as Tags.
You should now see the Metronome API in your collections. Note that you’ll also see it under your APIs, but for this example we will use the collection. If you’d like to read more about collections vs APIs, see the Postman documentation.
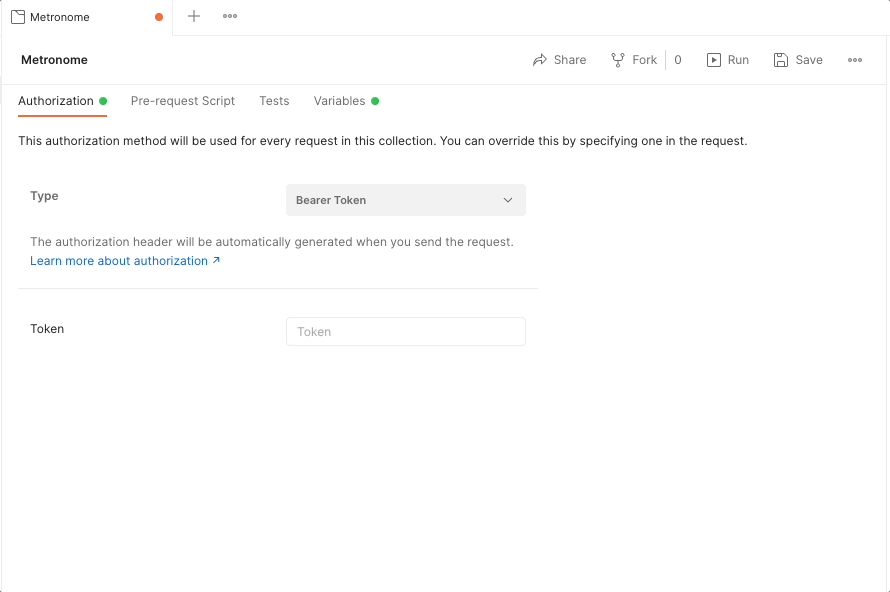
The Metronome API uses a bearer token for authorization. To set that up in Postman, click on the top-level Metronome folder in your collection and select Bearer Token.

For the token value, we will use a variable. To do this, enter {{api_token}} in the box below the Type dropdown and a window will appear saying unresolved variable. In that box, click on Add new variable, add your Metronome API token as the value, and set the scope to Collection: Metronome. Note: you can also manually add the variable in the Variables tab (Postman documentation on variables).
Now that you have the Metronome collection set up in Postman, let’s test it out.
Testing the Collection
To test out the collection we will create billable metrics, create customers, and use the Collection Runner to send in usage events.
Billable metrics
In Metronome, billable metrics aggregate usage events. Billable metrics are the basis for pricing and are calculated in real time. We will create billable metrics based on the total number of gigabytes ingested and monthly active users. Our usage events will be structured like the below JSONs. We will have two billable metrics based on gb_logs_ingested events and user_login events. Read more about billable metrics here.
{
  "transaction_id": "6125db36f21442dfb0a9e3217aaec2ef",
  "customer_id": "1e55d3ee-aa83-470c-8e32-e72e023ed22c",
  "timestamp": "2022-06-01T15:41:24.252000+00:00",
  "event_type": "gb_logs_ingested",
  "properties": {
    "gb_ingested": 0.13
  }
}
{
  "transaction_id": "9052db36b21442deb0a9e3117aaec208",
  "customer_id": "1e55d3ee-aa83-470c-8e32-e72e023ed22c",
  "timestamp": "2022-06-01T15:41:24.252000+00:00",
  "event_type": "user_login",
  "properties": {
    "user_id": "3863133492"
  }
}
To create the billable metrics for our example, navigate to the Billable metrics section on the left-hand menu in the Metronome UI. The first metric we create will be called GB ingested:
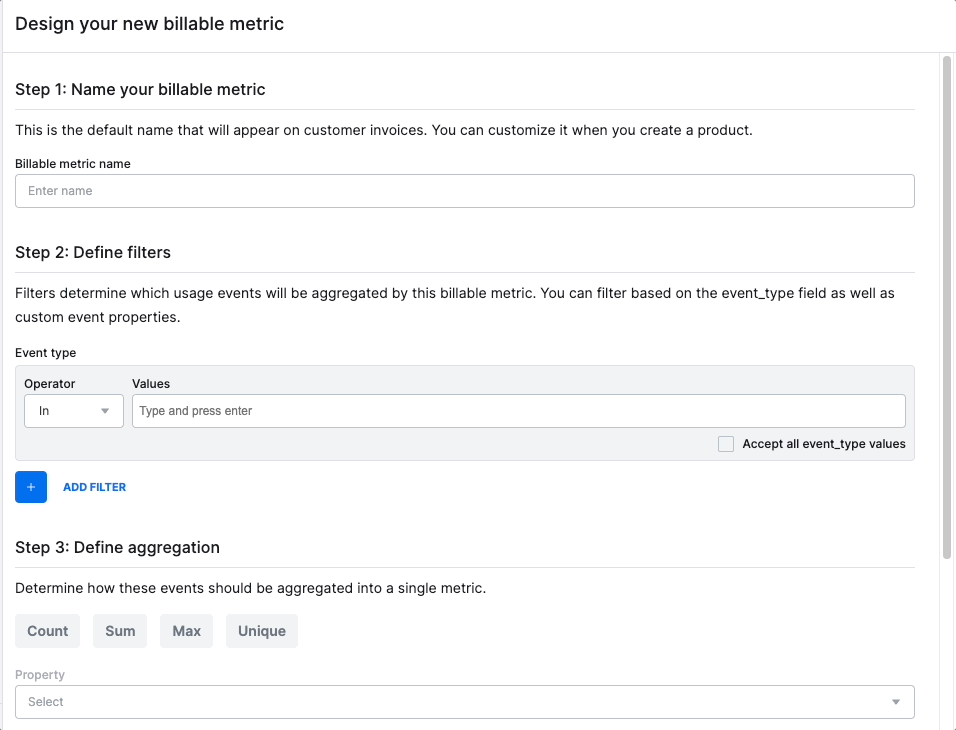
- Step 1: Name your billable metric
- Enter “GB ingested” in the Billable metric name box
- Step 2: Define filters
- Enter “gb_logs_ingested” in the Event type > Values box
- Ensure that In is selected for the Operator dropdown
- Click on the plus sign next to ADD FILTER and a new property filter will appear
- Enter “gb_ingested” in the Property box, ensure that Exists is selected for the Operator dropdown.
- Step 3: Define aggregation
- Select Sum as the aggregation method
- Select “gb_ingested” from the Property dropdown
For the second billable metric we will do monthly active users:
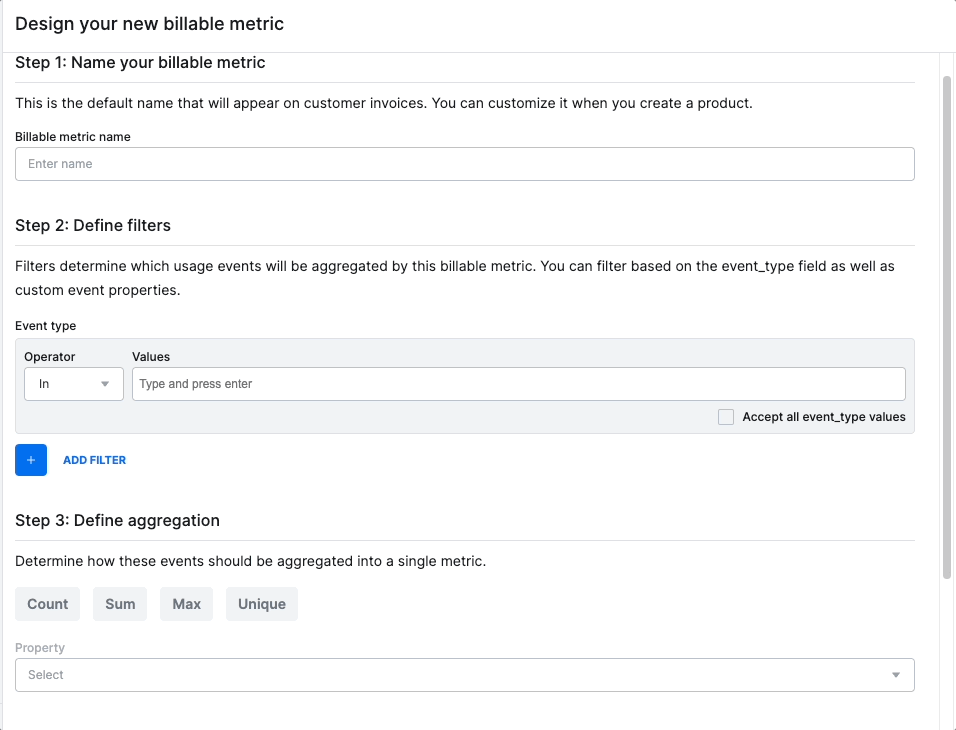
- Step 1: Name your billable metric
- Enter “MAUs” in the Billable metric name box
- Step 2: Define filters
- Enter “user_login” in the Event type > Values box
- Ensure that In is selected for the Operator dropdown
- Click on the plus sign next to ADD FILTER and a new property filter will appear
- Enter “user_id” in the Property box, ensure that Exists is selected for the Operator dropdown.
- Step 3: Define aggregation
- Select Unique as the aggregation method
- Select “user_id” from the Property dropdown
Customers
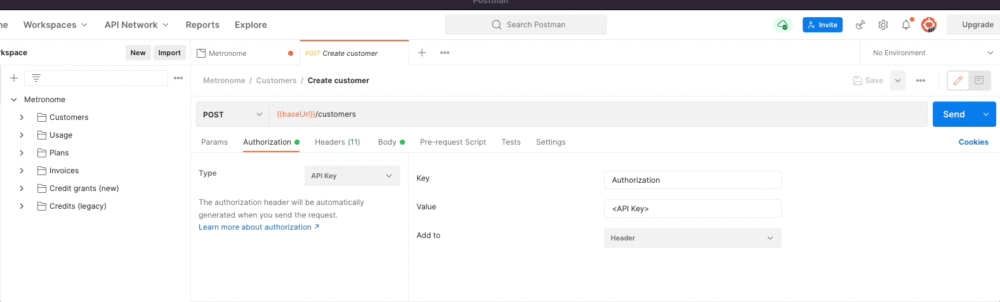
To use the Create customer endpoint in Postman, we need to ensure that the Create customer request is set to use the Bearer token variable {{api_token}}. Navigate to the POST Create customer entry under the Customers folder, select Authorization and select Bearer Token from the Type dropdown. Since we scoped {{api_token}} for the entire collection, the Token value should automatically be set to {{api_token}}. If not, just enter {{api_token}} in the Token box. Make sure you save your changes to the Create customer request.
Now that auth is set, we will create two customers. To create the first customer, use the below JSON as the body of the request. The response contains the metronome ID of the customer, which can be used to add customers to plan, assign credits, get invoices, etc. Navigate to the POST Create Customer entry under the Customers folder, select Body from the request options in the panel, then enter the following.
{
 "name": "Macrohard"
}

For the second customer, use the below JSON. Note that if you lose the customer ID, you can find it again by going to the overview page, clicking on the customer, and navigating to that customer’s settings.
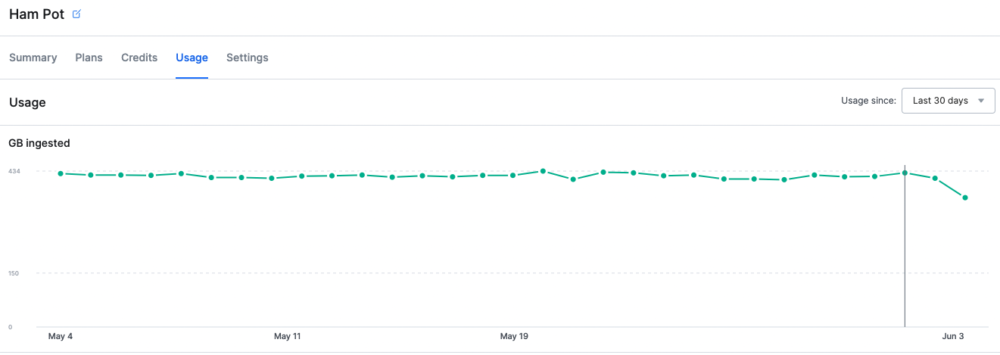
{
 "name": "Ham Pot"
}

Getting usage data into Metronome
There are two parts to getting synthetic data into Metronome. The first part is below—this script generates synthetic data for the last 30 days for both customers.
- Clone this repo with the script for generating the JSON data (ingest.json)
- You may have to install the request module before running the script
- pip3 install requests
- Before running the script, add your API Token and Customer IDs to generate_ingest_json.py
- Run the script
- python3 script.py
- Your ingest.json file should now contain the synthetic data
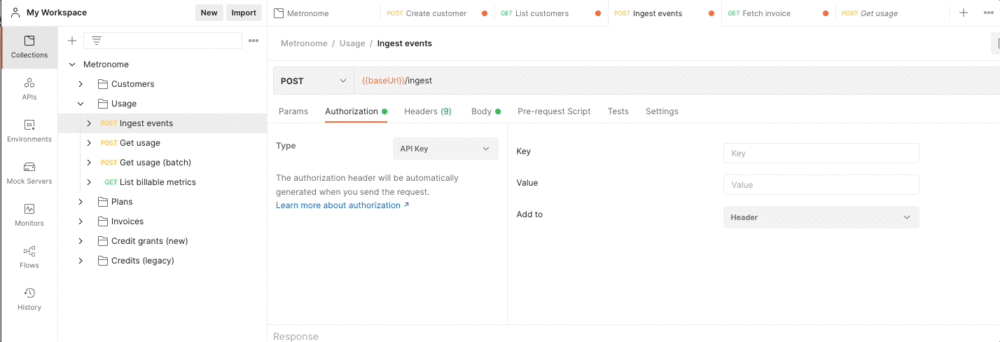
The second part is to send that data in via Postman. Similar to the Create customer request, we need to ensure that the request is set to use the Bearer token variable {{api_token}}. Navigate to the POST Ingest event request entry under the Usage folder, select Authorization and select Bearer Token from the Type dropdown. Since we scoped {{api_token}} for the entire collection, the token value should automatically be set to {{api_token}}, if not just enter {{api_token}} in the Token box. Make sure you save your changes to the Ingest event request.
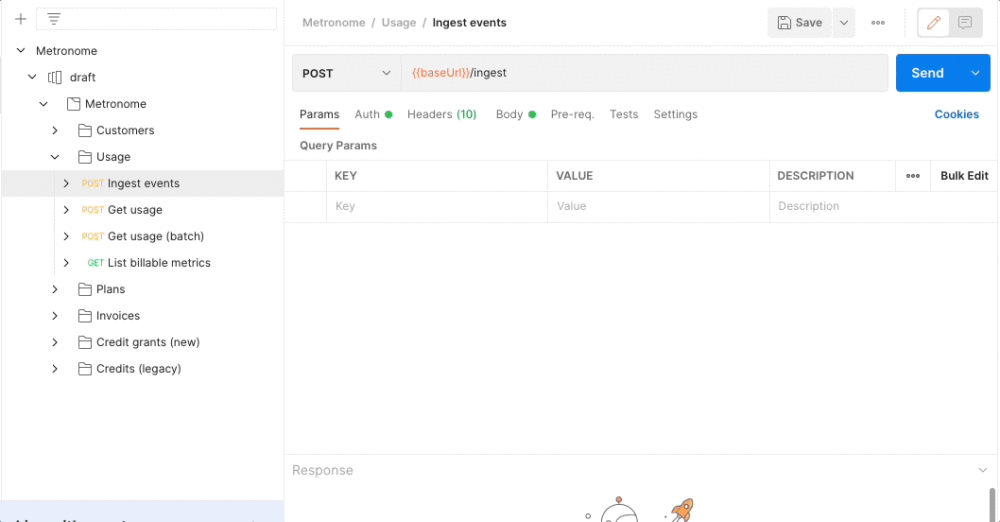
Now that auth is set, we will send in the event data. The Metronome ingest events endpoint accepts usage events in batches of 100 events or less. The ingest.json file contains 3000+ events. So we will use the Postman Collection Runner. A runner will allow us to make several API calls to the ingest API in a row. For the runner to know where to put the values from ingest.json, we need to add variables to the body of the Ingest events request (under the Usage folder). We also need to add a short pre-request script. Open the Ingest events request and replace the body with the JSON below.
[
 {
   "transaction_id": "{{transaction_id}}",
   "customer_id": "{{customer_id}}",
   "event_type": "{{event_type}}",
   "timestamp": "{{timestamp}}",
   "properties":
       {{properties}}
 }
]
And add the below pre-request script
property_json = pm.iterationData.get('properties');
pm.variables.set(`properties`, JSON.stringify(property_json))
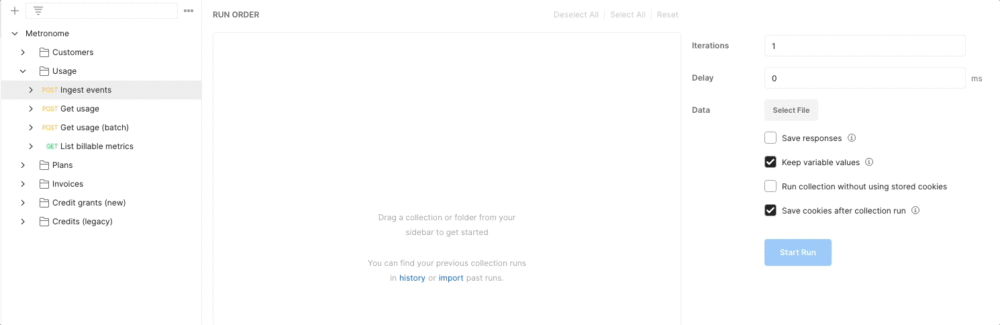
Now that we have the body formatted for our ingest.json and the pre-request script added, it’s time to set up the runner. Note that in this example we are using the Collection Runner to send one usage event at a time to the ingest events endpoint. However, in a typical production setup clients typically do some batching of events. The ingest events endpoint allows for batching of up to 100 events. To create a new runner, go to File > New Runner Tab. In the new runner tab:
- Drag the Ingest events request into the main box
- Deselect Get usage, Get usage (batch), and List billable metrics
- Click on select file and add the ingest.json file
Click on the Run Metronome button to send the data to the ingest events endpoint. This may take a few minutes to complete. Once complete, you will be able to see the usage data in Metronome (Overview > Customer Name > Usage).
If you want to read more about how to send usage data into Metronome, follow this link.
Tell us what you think
If you’re interested in testing out Metronome or have any questions on the above, reach out to us here. We’d love to hear from you!


What do you think about this topic? Tell us in a comment below.