Real-Time, Live, and On-Demand Video All in One Mux API
 This is a guest post written by Thuy Doan, community engineer at Mux.
Video is hard for a number of reasons.
Firstly, it’s literally a huge problem: video content already made up 51% of internet traffic in 2016, and that number was projected to grow to 70% by 2021. Secondly, it has a lot of moving parts: ingest, storage, transcoding, monitoring, origin, and delivery. This makes it difficult for developers to learn about video infrastructure as well as build video applications—whether they’re real-time, live, or on-demand videos.
With the tech industry and the world becoming more and more distributed, being able to build innovative video solutions and content with as little friction as possible is becoming more and more crucial. Even better if you can do it all in one place.
Thanks to Postman, you are able to easily explore these options with Mux’s Postman Collection.
Let’s use Mux’s collection to explore real-time, live, and on-demand video. In the end, you will be able to broadcast your own real-time video, watch it live, and play it back.
Prerequisites
For this tutorial, you will need access to Mux’s real-time beta by having the following:
- A free Mux account
- Access to real-time beta (if you have trouble signing up, please email us to expedite)
Note: For the purposes of this tutorial, the 1,000 free participant minutes that come with real-time beta access should be enough. Beyond that, please consult our real-time guide.
Getting started with the Mux Postman Collection
To start, fork our collection using the Fork button on the upper right-hand side of the screen. Next, you’ll need a token_id and a secret_key to make authenticated API calls. You can generate these credentials by creating a Mux account. Once you have those credentials, Postman offers a handy environment feature so you can store, hide, and use those credentials.
Before we dive in further, please note that Postman makes it possible for you to view a sample Mux request and response (along with any relevant payload) in the collection. So if you’re ever unsure about your request response, you can always check our example.
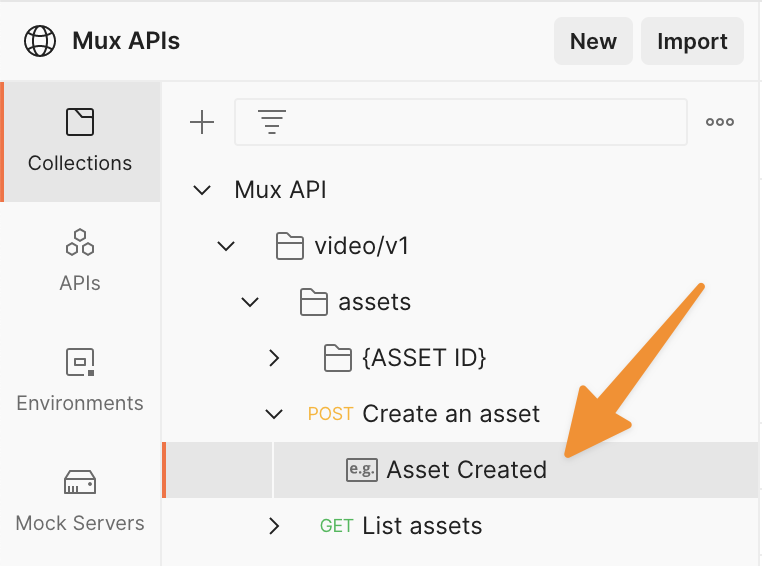
We’ll also share direct links to each API request—along with its example—that we mention.
Now you’re ready to make your first Mux API request.
Getting started with real-time video by creating a space
Real-time video takes on a variety of forms, but the one you’re likely to be most familiar with is video calling applications like Zoom and FaceTime. With Mux, real-time videos begin with a space. Spaces are our abstraction for real-time communication and it’s the building block for users to share audio, video, and even screenshare in the Mux ecosystem.
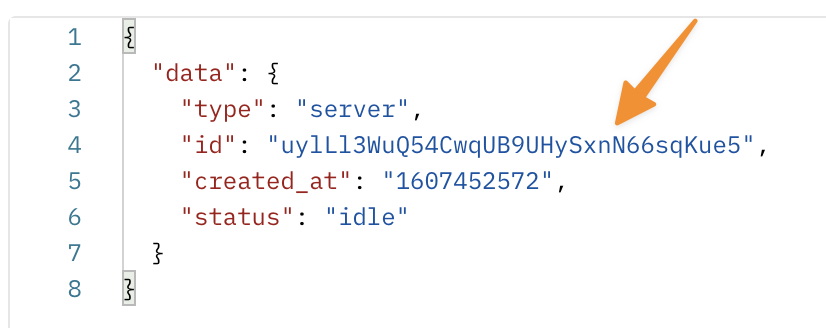
To create a space, make a POST request to {{baseUrl}}/video/v1/space. The request response will include a space ID:
Step 1. Creating a signing key
In order to control access to a space, Mux’s real-time video requires signing a JWT. To create a signed JWT, you need to first create a Mux signing key—a 2048-bit RSA key-pair.
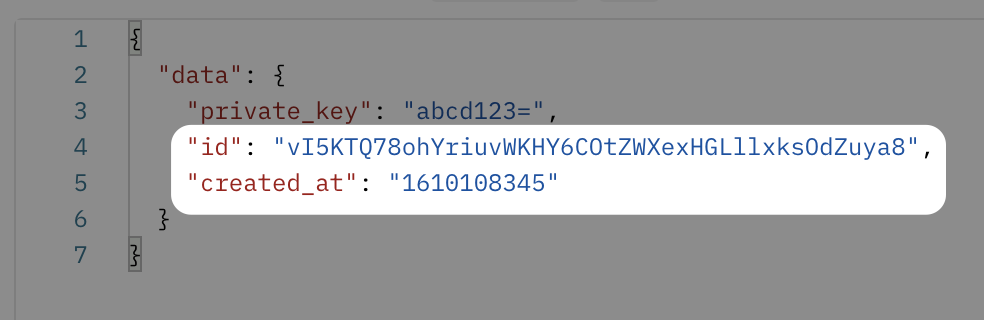
Make a POST request to {{baseUrl}}/video/v1/signing-keys. You will need both the private_key and the id to generate a JWT in the next step.
Your response from the POST request should look like this:
Step 2. Signing a JWT
Now that you have the essential information, you can use one of two methods to sign a JWT.
For either method, your JWT payload should include these IDs from earlier:
- Space ID
- Signing key ID
If you’re using JWT.io, your JWT payload should look something like this:
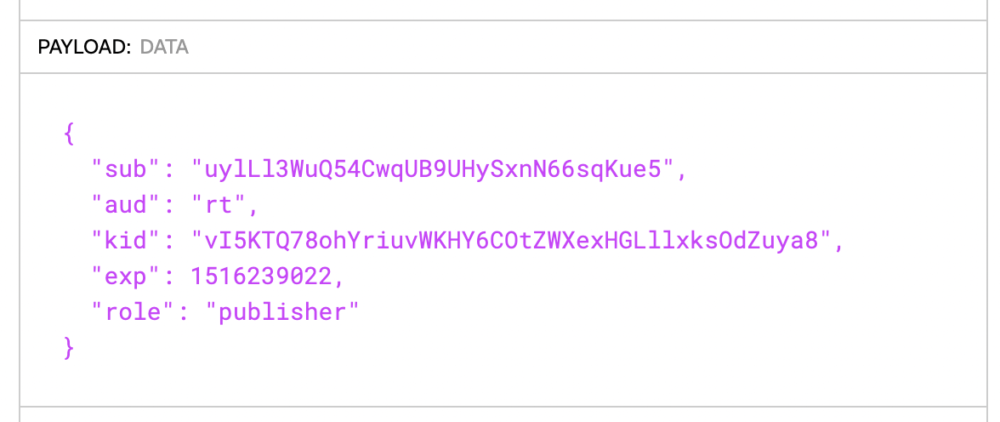
The value for sub is your space ID. The value for aud is rt which stands for “real-time.” The value for kid is your signing key ID. exp is an expiry date in the future in epoch format. Lastly, role, which is optional and publisher by default, assigns role permissions for the JWT.
If you prefer JWT.io to sign your JWT, remember to change the algorithm type to “RS256”. Then, craft your payload in the Payload section. Lastly, base-64 decode your private key from the previous section first and then paste the result into the input field under Verify Signature.
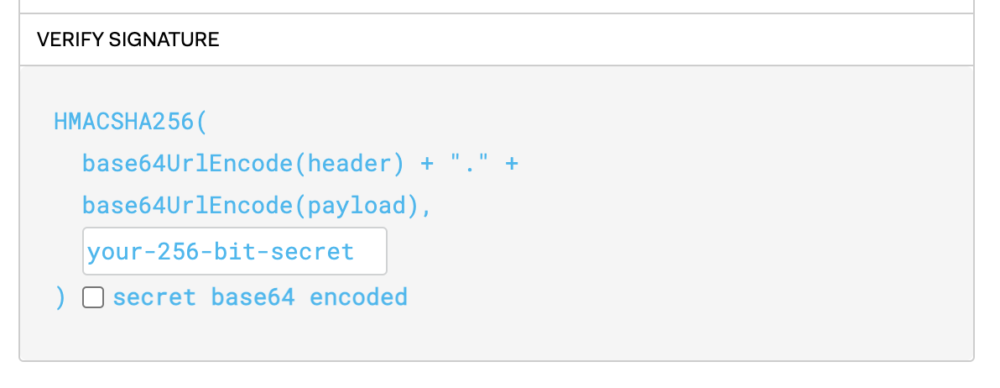
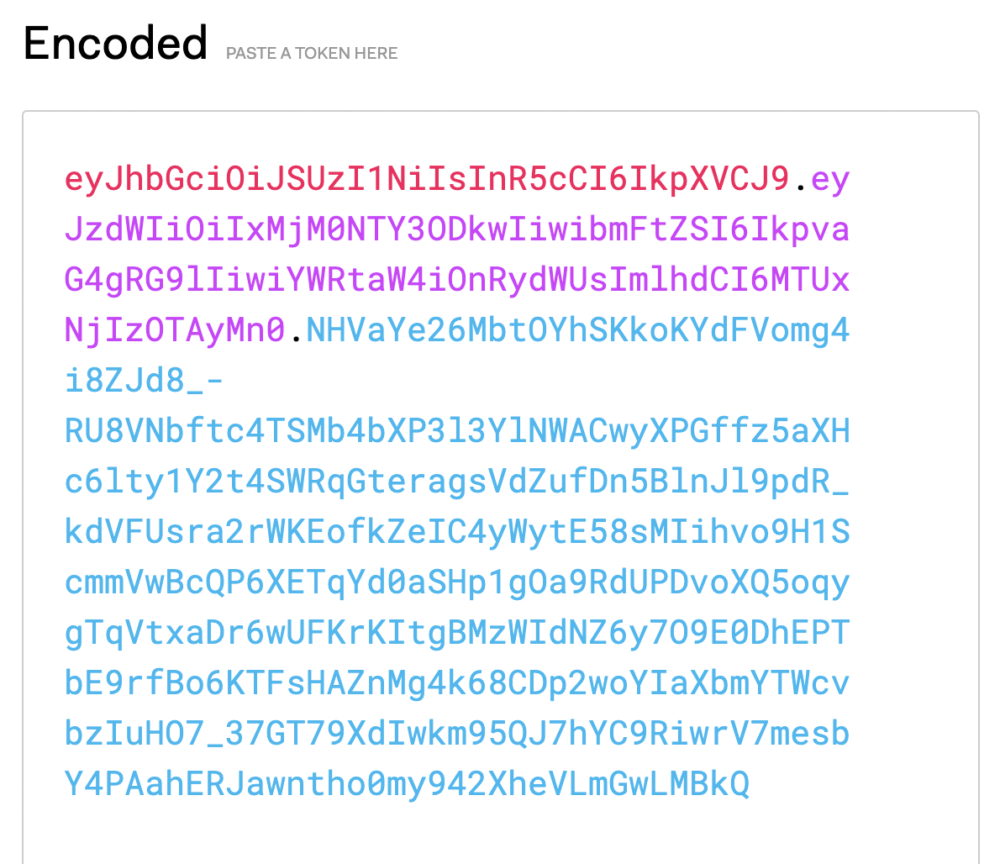
your-256-bit-secret prompts users to paste in their base-64 decoded private keyThe signed JWT generated from a payload like this should be something long like this:
The UI may say that the JWT is invalid. For the most part, you can ignore this as long as your JWT works. If you’re having trouble with JWT.io, we’d recommend falling back to the Mux CLI.
Step 3. Instantiate space with signed JWT
You are now ready to connect to your space.
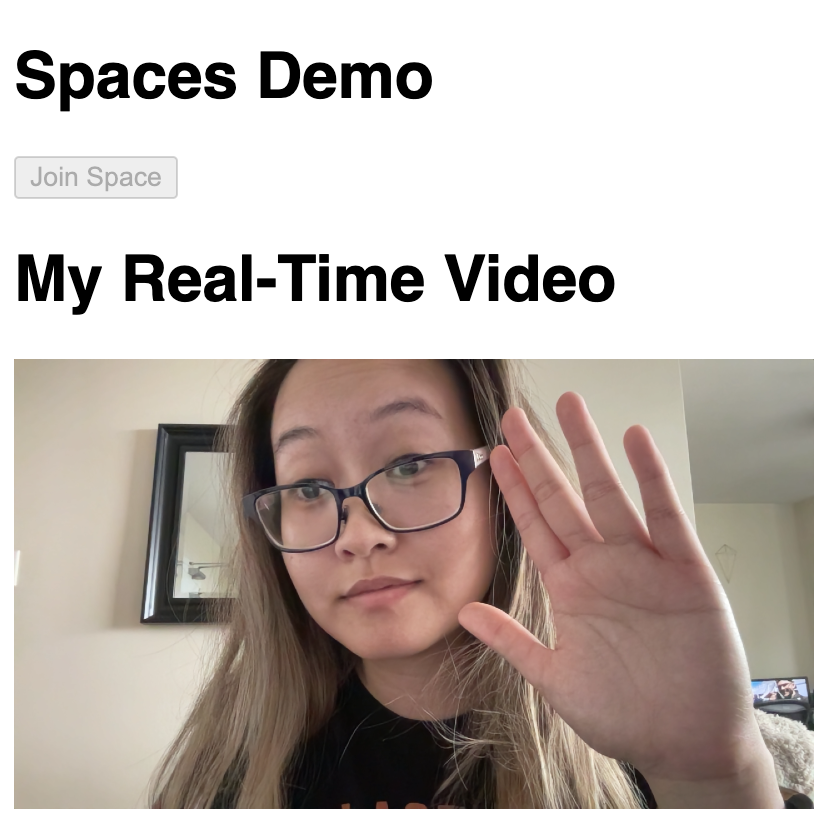
Mux has prepared a sandbox environment for you to easily test your space out. All you have to do is replace LONG_JWT_HERE in the index.js file with your signed JWT from the previous step and click Join Space.
You will know connecting to your space was successful if the player captures your input.
Broadcast real-time video to a livestream
A livestream is very similar to real-time video with the exception of latency. Latency is the amount of delay between the moment video is captured and video is displayed. For live streams, latency can go higher than 15 seconds and as low as 2 seconds. For real-time video, latency needs to be much lower (30-200ms) to prevent frustrating delays between two or more people.
In the previous section, you created a space for real-time to exist in. In this step, you will create a broadcast to connect that space to a livestream, allowing many other users to view the input captured by your real-time space. In practice, this means you could have a video call with a small group of people and broadcast that out via a livestream to many viewers.
To make this possible, you have to do two things:
- Create a livestream
- Create a broadcast (bridge between space and live stream)
Step 1. Create a livestream
First, create a livestream by making a POST request to {{baseUrl}}/video/v1/live-streams.
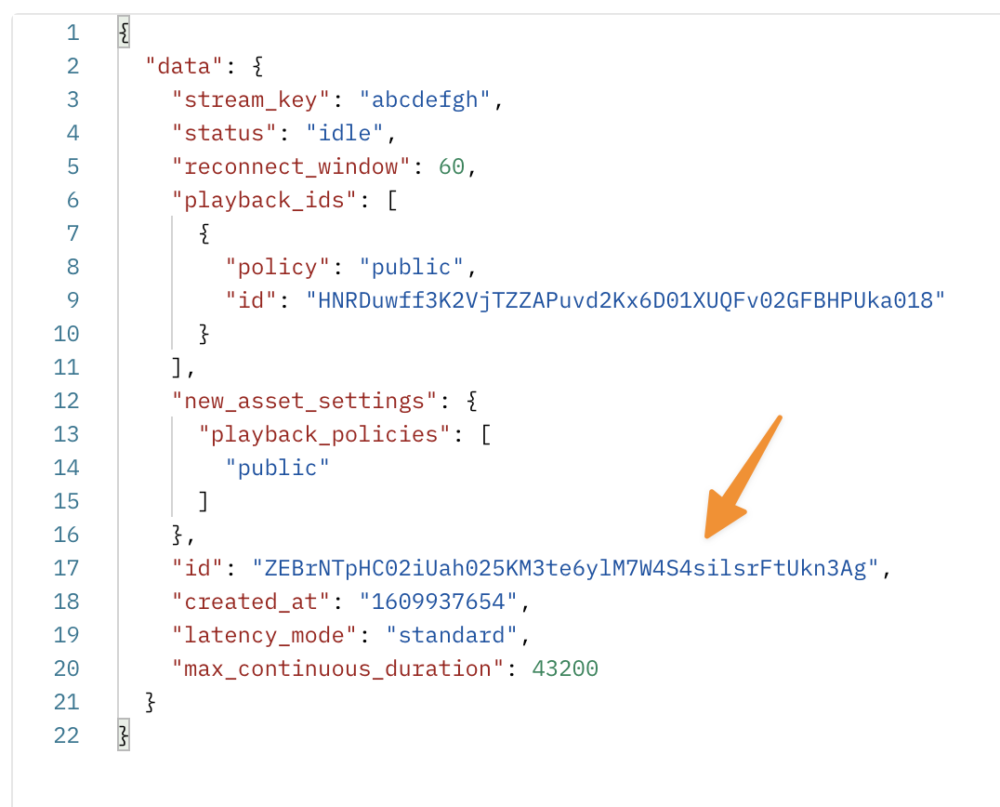
You’ll use the livestream ID from your response to create your broadcast.
Step 2. Create a broadcast
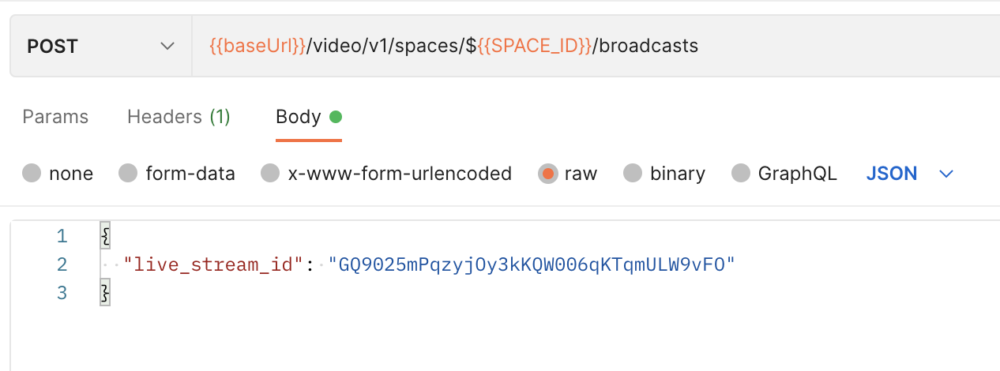
Create a broadcast by making a POST request to {{baseUrl}}/video/v1/spaces/${{SPACE_ID}}/broadcasts using your space ID from earlier.
You also have to use your live_stream_id from the previous section in the body of this request.
The body for this request will then look like this:
You should get a response that looks like this:
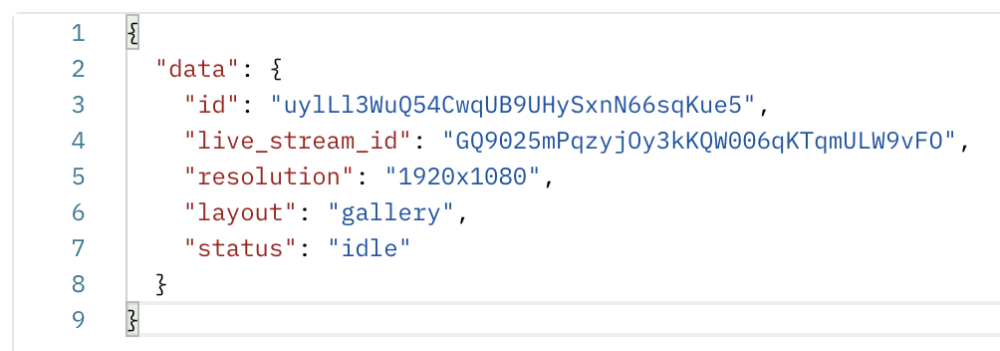
Now you have a broadcast that will connect your space to your live stream.
Next, to start this connection, you need to make a POST request to {{baseUrl}}/video/v1/spaces/${{SPACE_ID}}/broadcasts/${{BROADCAST_ID}}/start.
You will get an empty data object as a response—this is expected.
You can rest easy knowing that your livestream has started. However, if you want to make sure, you can go into your Mux dashboard and check to see if your livestream is active.
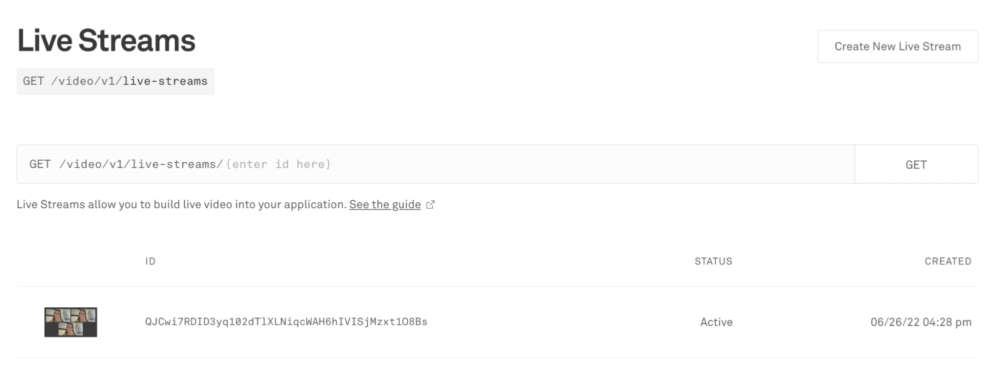
While the livestream is active, you can configure third-party software like OBS using the stream key associated with the live stream. You can also use something like Mux Player—our open-source HTML5 media player—to view the livestream using its playback ID.
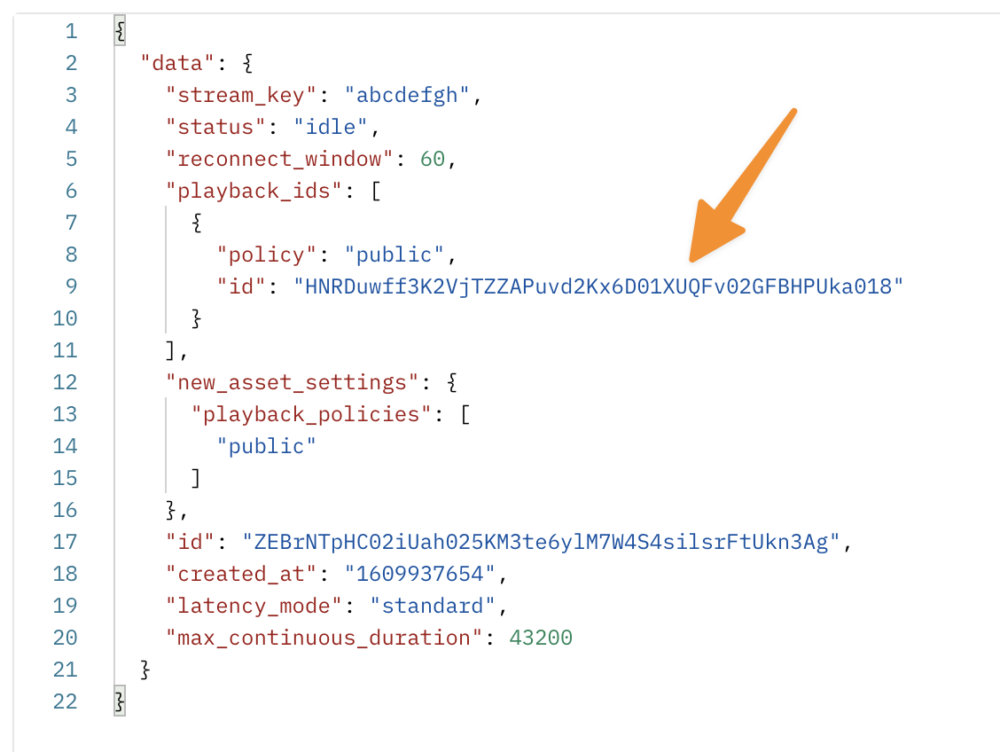
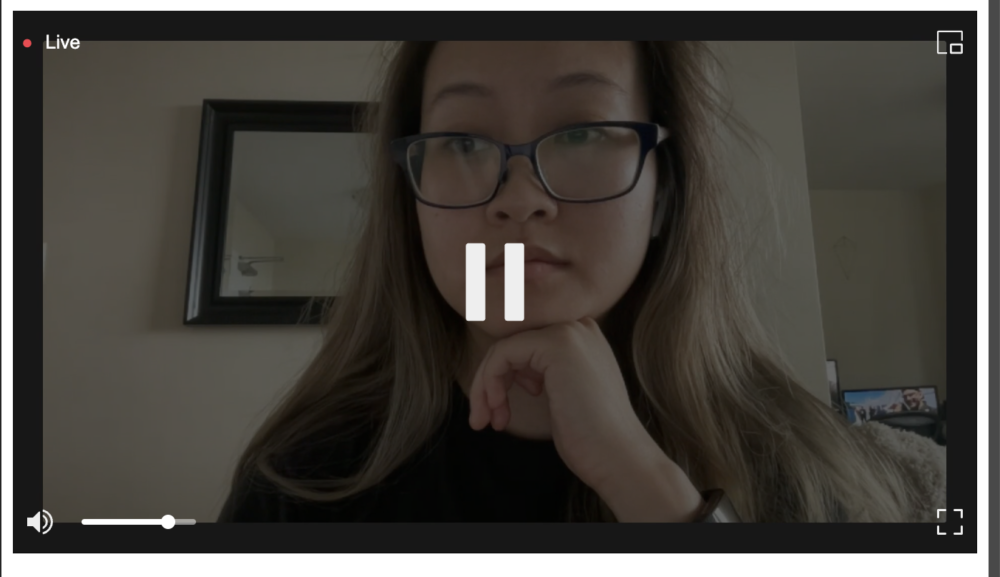
To view your livestream while it’s active, you can replace the playback-id in the index.html file of this sandbox environment with your livestream’s playback ID. The resulting player should look like this:
When you’re ready to stop the broadcast, make a POST request to {{baseUrl}}/video/v1/spaces/${{SPACE_ID}}/broadcasts/${{BROADCAST_ID}}/stop.
You will again get an empty data object as a response. This is also expected.
Play back your livestream on-demand
In the previous section, we mentioned that you can use Mux Player to view a livestream while it is active. You can also use Mux Player to play back your livestream on-demand!
Implementing on-demand playback with Mux Player is very similar to its live stream counterpart.
For your convenience, we’ve set up a sandbox environment where you can again paste a playback ID straight into the index.html file of the player example in order to play back your livestream from earlier. However, note that for on-demand video, the playback ID will be different from the livestream.
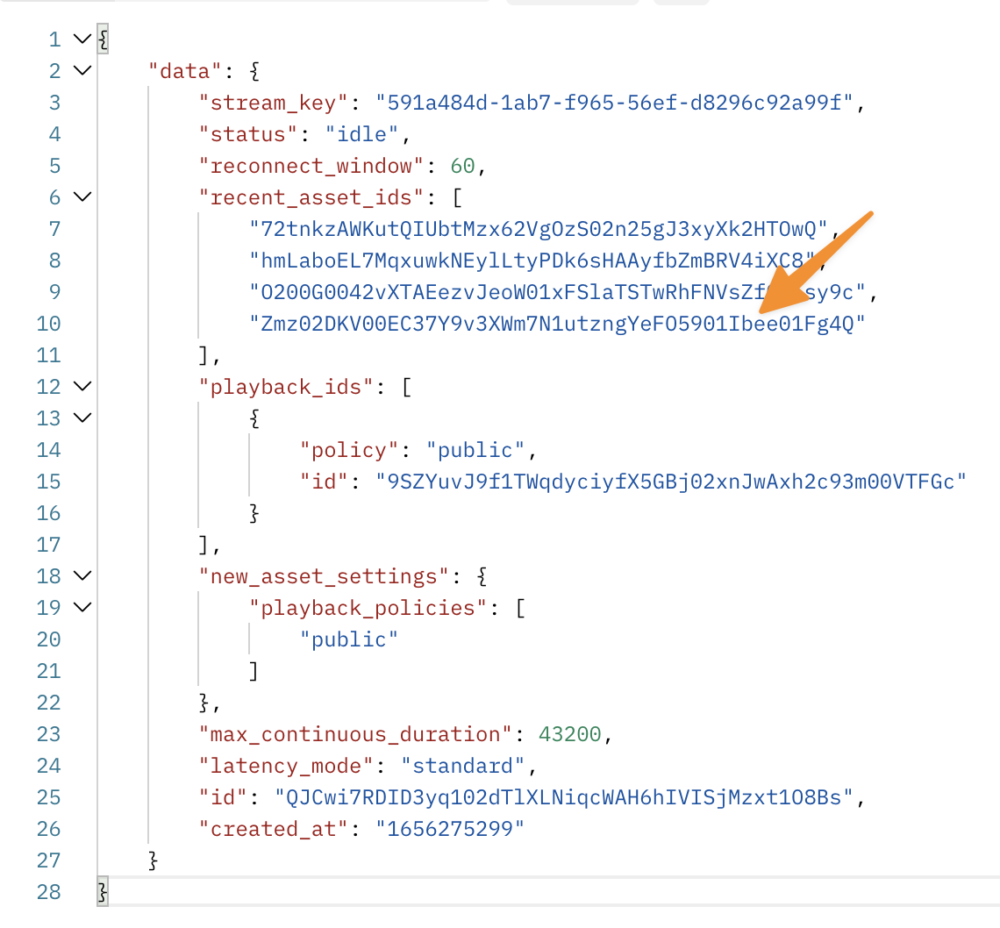
To retrieve this playback ID, you first need to make a GET request to {{baseUrl}}/video/v1/live-streams/:LIVE_STREAM_ID.
Next, look for the recent_asset_ids array in your response.
Once a livestream has been active at least once, this array will hold asset IDs that represent the media content per time the live stream was active. For example, if your livestream was active only once then this array would have one ID. If it was active three times, then the array would hold three asset IDs listed from oldest to most recent.
From here, make a GET request to {{baseUrl}}/video/v1/assets/:ASSET_ID with that asset ID. You’ll find a different playback ID (from the livestream) in the response. Copy it.
Now, go to the sandbox and change the value of playback-id in the index.html file to the playback ID you just got. You also need to change the stream-type for mux-player from live to on-demand.
You know you’ve succeeded if your video player successfully plays back your livestream.
Wrapping up
If you’ve made it this far, it means you have explored a lot in the world of video:
- Created a space for real-time video
- Created a livestream
- Broadcasted your real-time video to a livestream
- Played back that livestream on demand
However, these are only some of the amazing things you can do with the Mux API. For example, there’s a whole other side to the API you didn’t explore—like Mux Data.
To help you on your journey in building the world’s best video experiences for users, we’ve created docs and guides to ensure you have the best journey you possibly can. But, if you ever need to reach out to us, you can tweet us @MuxHQ or email us at [email protected].
We’re always open to feedback or a chat. Enjoy building in this big world of video!


A longer tutorial or a video would be welcomed