Powering home automation with WebSocket APIs
In Part 1 of this series, we learned about the WebSocket protocol and how to set up our own WebSocket server in Node.js. Next, let’s explore how to use a public WebSocket API to access smart devices around a connected home.
REST and WebSockets for a connected home
When it comes to transmitting data in a connected home environment, both REST and WebSockets are commonly used protocols, but they have different characteristics and use cases.
REST follows a request-response pattern, where a client sends a request to a server, and the server responds with the requested data. This is useful for accessing and controlling smart devices and services, and works well for scenarios where data updates are not required in real-time. For example, you could use a REST API to turn on a smart light.
On the other hand, WebSockets enables bidirectional communication between a client and server, enabling real-time data transmission. This is useful for applications that require continuous data updates, such as real-time monitoring of sensor data and displaying live dashboards. For example, you could use a WebSocket API to continuously monitor the temperature in a room over a persistent connection.
In the next section, let’s take a look at a popular home automation platform that provides both REST and WebSocket APIs.
Home Assistant for home automation
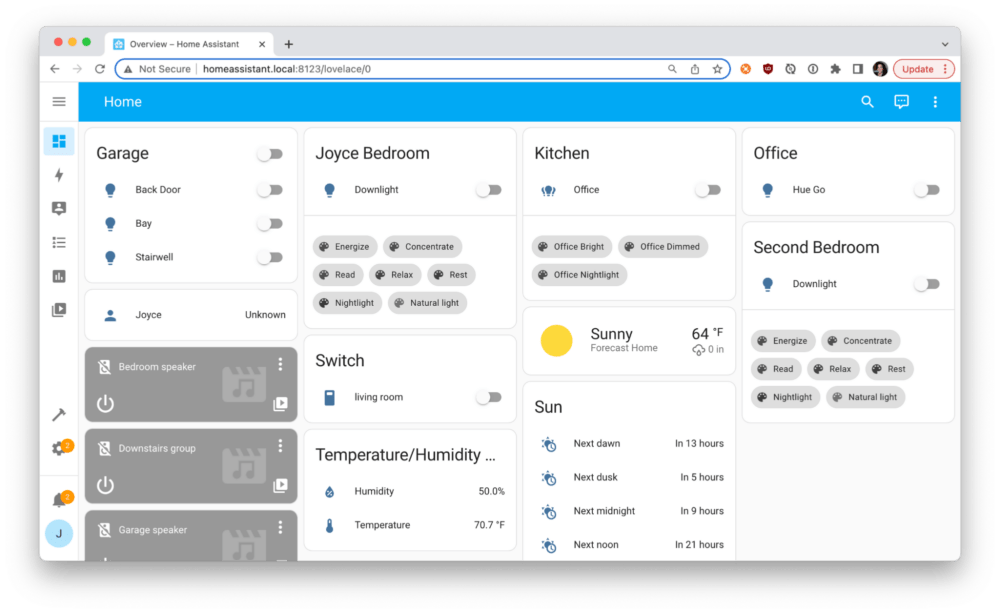
Home Assistant is a popular open-source home automation platform that lets you control and monitor smart devices from different brands using a unified interface. Instead of using separate applications to control the kitchen lights, thermostat, and other connected devices all manufactured by different producers, you can manage almost everything from a single Home Assistant web dashboard running on a Raspberry Pi or other dedicated server within your local network.

Home Assistant is ideal for DIY smart-home tinkerers because it supports a wide range of integrations and protocols, allowing you to customize automation scenarios based on events, schedules, and sensor readings.
Next, let’s take a look at Home Assistant’s WebSocket API.
Home Assistant WebSocket API
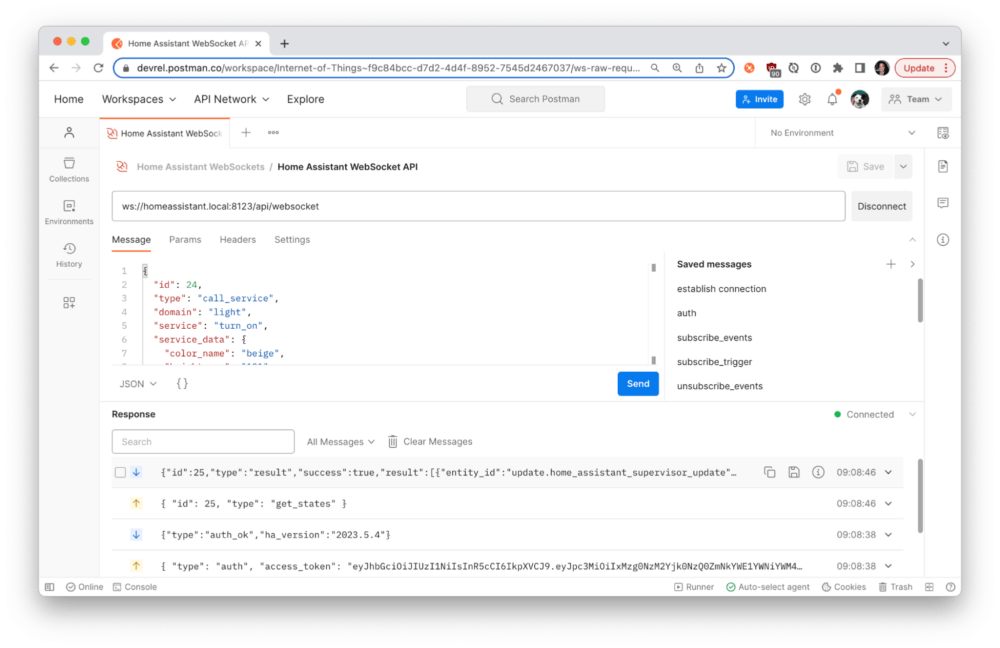
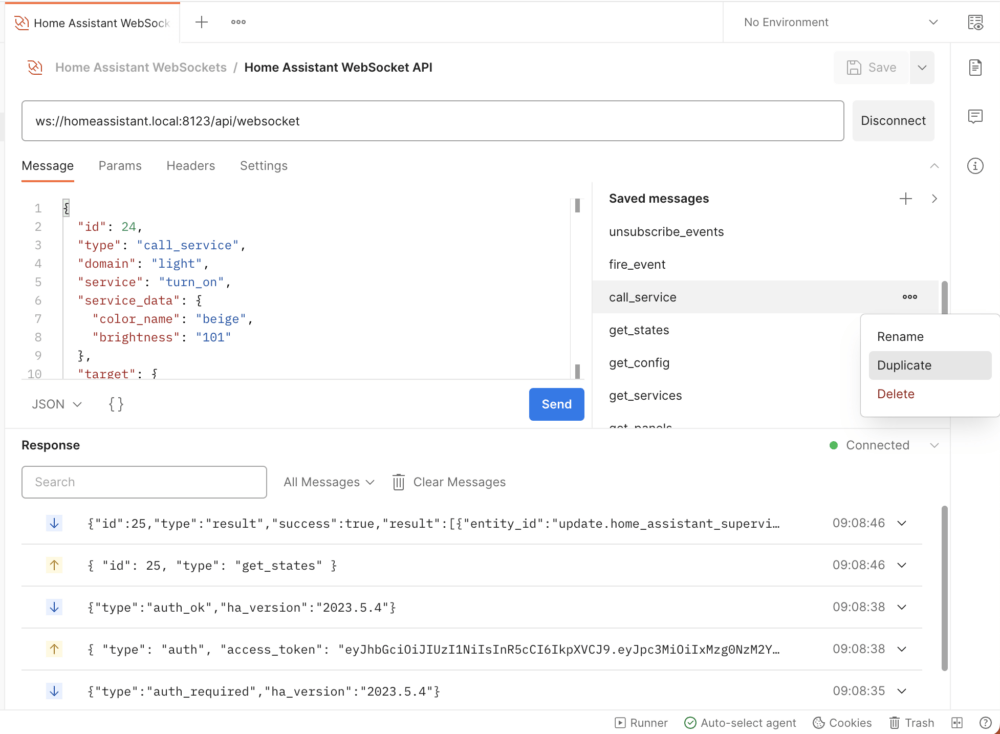
In addition to a REST API, Home Assistant also contains a WebSocket API to stream information. To learn how to authenticate the WebSockets connection and send saved messages to the Home Assistant server, follow along with this step-by-step tutorial, watch the video, and reference the sample collection.
Using a long-lived token, you can use Postman to establish a connection with our Home Assistant server running locally, and then send and receive messages using the WebSocket API.

You can also configure your own Saved Messages to create your own customized themes and sequences.

Home Assistant also provides a REST API. Explore Home Assistant’s WebSocket and REST APIs side-by-side in Postman to better understand the differences between the two protocols.
Additional resources
You can work in Postman using different API patterns and protocols. Check out these Postman resources to learn more about WebSockets:
- Guide to Postman WebSockets collection
- Using WebSocket requests docs
- WebSocket requests video
Browse the Program smart lights public workspace for APIs from other providers, such as Philips Hue and Elgato, to automatically control smart lights in your home or office. And let us know in the comments below what kind of projects you want to learn about, and what you’re doing with WebSockets.

What do you think about this topic? Tell us in a comment below.