How to create a REST API with Node.js and Express
Quick answer: How to Build a REST API with Node.js and Express
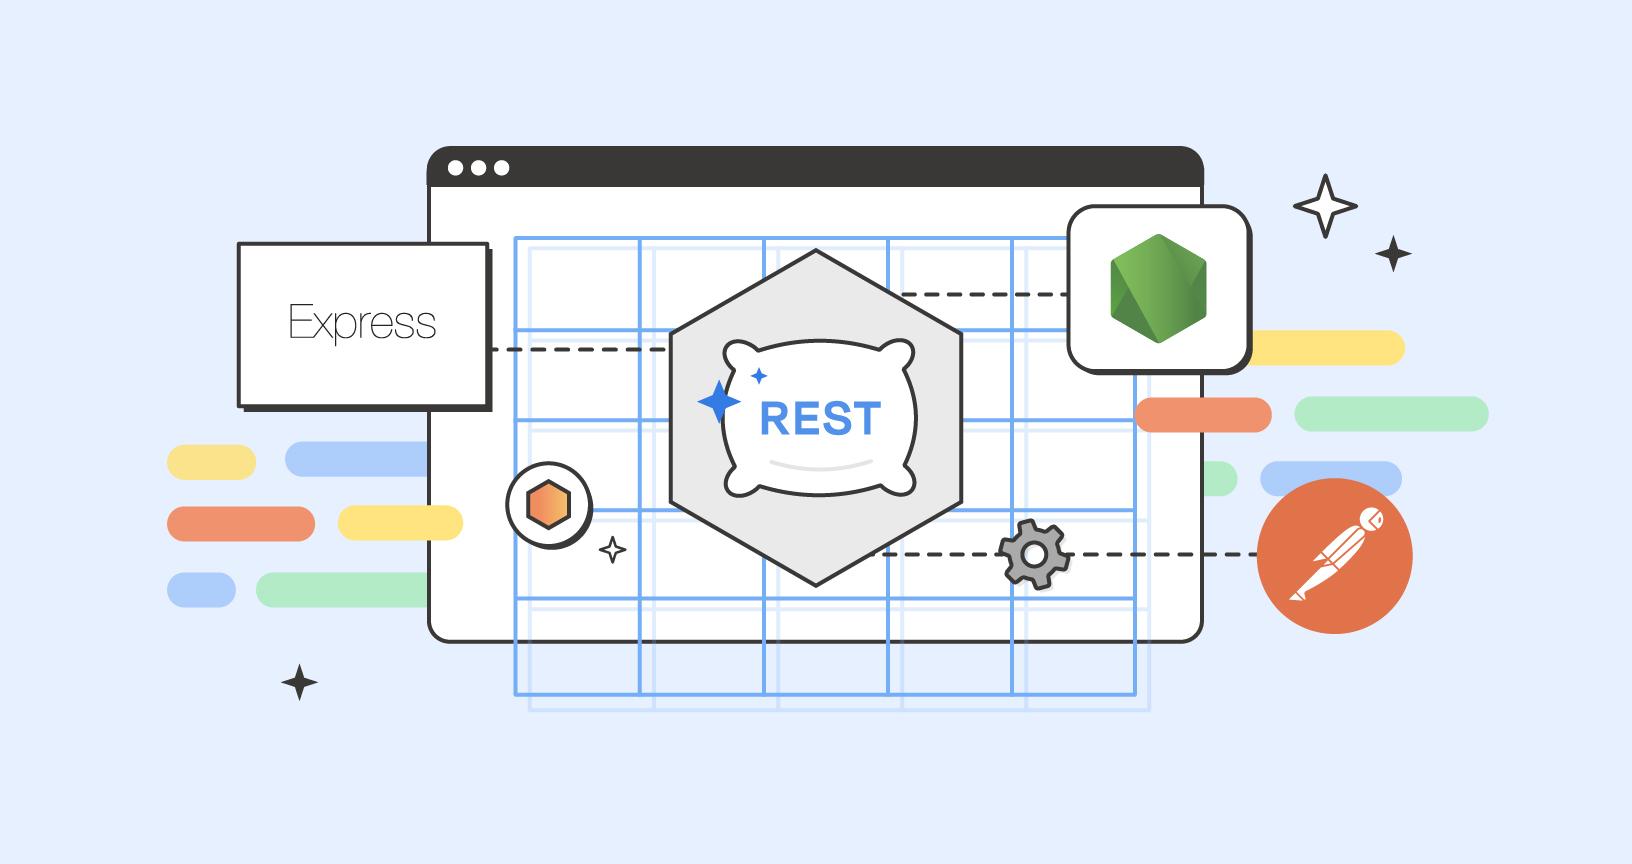
Building a REST API with Node.js and Express is one of the most practical skills in modern web development. Node.js powers millions of backends for web and mobile apps, while Express provides the flexibility and simplicity developers need to move fast.
An API is a contract that facilitates communication between applications, systems, and teams. Whether you’re creating a user management service, a mobile backend, or microservices for a larger product, the key is building APIs that are structured, secure, and testable from the start.
- Design: Define clear, consistent endpoints that follow REST principles.
- Test: Validate requests and responses using tools like Postman.
- Deploy: Use environments and CI/CD pipelines for smooth releases.
- Observe: Monitor and iterate using logs, metrics, and feedback.
In short: You’ll build a complete user management API from scratch, learning how to structure routes, implement authentication, and test endpoints using Postman, the industry standard for API collaboration and testing.
Build a REST API
We’ll create a REST API for user management with the following endpoints:
| Endpoint | Method | Purpose |
|---|---|---|
/signup |
POST | Register a new user |
/login |
POST | Authenticate and issue a JWT |
/user |
GET | Retrieve a user’s profile |
/user/:userId |
PATCH | Update user details |
/user/all |
GET | List all users (admin only) |
/user/change-role/:userId |
PATCH | Change user roles (admin only) |
/user/:userId |
DELETE | Delete a user (admin only) |
These endpoints cover the most common REST operations: Create, Read, Update, and Delete (CRUD), as well as authentication and role-based permissions.
Why Node.js and Express?
Node.js is ideal for building REST APIs:
-
You write JavaScript across your stack, so there’s no need to switch languages.
-
It handles multiple concurrent requests efficiently through its event-driven architecture.
-
The npm ecosystem provides packages for nearly any feature, from authentication to database connectors.
Express builds on this with a minimal, unopinionated framework that makes it easy to define routes, use middleware, and scale as your application grows.
Together, they’re a natural fit for rapid, iterative development. And when combined with Postman as a collaborative API platform, you can test, document, and share your endpoints instantly.
Prerequisites
Before we start, ensure you have:
-
Node.js installed (download here)
-
A code editor like VS Code
-
Basic JavaScript knowledge
-
A Postman account for testing and documenting your API
Tip: Postman Collections let you organize and save API requests. As you build, you can create a shared collection of all your endpoints and use them as executable API documentation.
Step 1: Initialize your project
Open a terminal and run:
mkdir user-api
cd user-api
npm init -y
This creates a package.json file that tracks dependencies and scripts for your project.
Step 2: Install dependencies
npm install express sequelize sqlite3 jsonwebtoken ajvHere’s what each package does:
-
express→ Web framework for building routes and handling requests -
sequelize→ ORM for interacting with databases -
sqlite3→ Lightweight SQL database for development -
jsonwebtoken→ Generates and verifies JSON Web Tokens for authentication -
ajv→ Validates incoming request data against a defined schema
Tip: If you’re testing in multiple contexts (local, staging, production), use environments in Postman to switch between base URLs and tokens without manually editing requests.
Step 3: Create a basic server
Create a new file named app.js:
const express = require('express');
const app = express();

app.use(express.json());

app.get('/status', (req, res) => {
  res.json({
    status: 'Running',
    timestamp: new Date().toISOString()
  });
});

const PORT = process.env.PORT || 3000;
app.listen(PORT, () => console.log(`Server running on port ${PORT}`));
Start your server:
node app.jsNow open Postman and send a GET request to http://localhost:3000/status.
You should see a JSON response with the current timestamp.
Step 4: Structure your REST API
Organize your files for clarity and scalability:
user-api/
├── app.js
├── authorization/
│   ├── routes.js
│   └── controller.js
├── users/
│   ├── routes.js
│   └── controller.js
├── common/
│   ├── models/
│   │   └── User.js
│   └── middlewares/
│       ├── IsAuthenticated.js
│       └── CheckPermission.js
└── storage/
    └── data.db
This structure separates concerns: controllers handle logic, routes handle requests, and middleware enforces access control. It mirrors the Design → Build → Test → Deploy stages of the modern API lifecycle.
Step 5: Define your data model and connect the database
Create common/models/User.js:
const { DataTypes } = require('sequelize');

const UserModel = {
  id: { type: DataTypes.INTEGER, autoIncrement: true, primaryKey: true },
  username: { type: DataTypes.STRING, allowNull: false, unique: true },
  email: { type: DataTypes.STRING, allowNull: false, unique: true },
  password: { type: DataTypes.STRING, allowNull: false },
  firstName: { type: DataTypes.STRING, allowNull: false },
  lastName: { type: DataTypes.STRING, allowNull: false },
  role: { type: DataTypes.STRING, defaultValue: 'USER' },
  age: { type: DataTypes.INTEGER }
};

module.exports = (sequelize) => sequelize.define('user', UserModel);
Initialize the database
Next, create common/database.js:
const { Sequelize } = require('sequelize');
const sequelize = new Sequelize({
  dialect: 'sqlite',
  storage: './storage/data.db'
});
module.exports = sequelize;
Import this file into your main app.js and sync models with:
const sequelize = require('./common/database');
const defineUser = require('./common/models/User');
const User = defineUser(sequelize);

sequelize.sync();
This creates the SQLite database on first run.
Tip: You can use pre-request scripts to seed or reset data before each run. This is particularly handy for regression testing across environments.
Step 6: Create a signup endpoint
Create authorization/controller.js:
const jwt = require('jsonwebtoken');
const crypto = require('crypto');
const sequelize = require('../common/database');
const defineUser = require('../common/models/User');
const User = defineUser(sequelize);

const encryptPassword = (password) =>
  crypto.createHash('sha256').update(password).digest('hex');

const generateAccessToken = (username, userId) =>
  jwt.sign({ username, userId }, 'your-secret-key', { expiresIn: '24h' });

exports.register = async (req, res) => {
  try {
    const { username, email, password, firstName, lastName, age } = req.body;
    const encryptedPassword = encryptPassword(password);
    const user = await User.create({
      username,
      email,
      password: encryptedPassword,
      firstName,
      lastName,
      age
    });
    const accessToken = generateAccessToken(username, user.id);
    res.status(201).json({
      success: true,
      user: { id: user.id, username: user.username, email: user.email },
      token: accessToken
    });
  } catch (err) {
    res.status(500).json({ success: false, error: err.message });
  }
};
Create authorization/routes.js:
const router = require('express').Router();
const AuthController = require('./controller');
router.post('/signup', AuthController.register);
module.exports = router;
Update app.js:
const authRoutes = require('./authorization/routes');
app.use('/', authRoutes);
Test in Postman with:
POST http://localhost:3000/signupand this body:
{
  "username": "developer",
  "email": "[email protected]",
  "password": "securepass123",
  "firstName": "Dev",
  "lastName": "User",
  "age": 28
}
You should receive a success response and JWT token.
Tip: Store your JWT as an environment variable or in your Postman Vault, not in raw requests.
Validate incoming data with JSON Schema
Before creating users, validate inputs using ajv:
const Ajv = require('ajv');
const ajv = new Ajv();
const schema = {
  type: 'object',
  required: ['username', 'email', 'password'],
  properties: {
    username: { type: 'string', minLength: 3 },
    email: { type: 'string', format: 'email' },
    password: { type: 'string', minLength: 6 }
  }
};
const validate = ajv.compile(schema);
Add this at the top of your signup controller:
if (!validate(req.body)) {
  return res.status(400).json({ error: 'Invalid input', details: validate.errors });
}
Schema validation helps ensure consistency and security.
Tip: You can use Postman test scripts to automatically validate these schemas, ensuring contract compliance across teams and environments.
Step 7: Implement authentication middleware
Create common/middlewares/IsAuthenticated.js:
const jwt = require('jsonwebtoken');

exports.check = (req, res, next) => {
  const authHeader = req.headers['authorization'];
  if (!authHeader)
    return res.status(401).json({ error: 'No authorization header provided' });

  const [type, token] = authHeader.split(' ');
  if (type !== 'Bearer')
    return res.status(401).json({ error: 'Invalid authorization format' });

  try {
    const decoded = jwt.verify(token, 'your-secret-key');
    req.user = decoded;
    next();
  } catch {
    res.status(401).json({ error: 'Invalid or expired token' });
  }
};
This middleware protects endpoints by verifying JWTs. You can test it in Postman by adding the token to the Authorization header (Bearer <token>).
Step 8: Create protected user routes
Create users/controller.js:
const sequelize = require('../common/database');
const defineUser = require('../common/models/User');
const User = defineUser(sequelize);

exports.getUser = async (req, res) => {
  const user = await User.findByPk(req.user.userId);
  if (!user) return res.status(404).json({ error: 'User not found' });
  res.json({ success: true, data: user });
};

exports.getAllUsers = async (req, res) => {
  const users = await User.findAll();
  res.json({ success: true, data: users });
};
Create users/routes.js:
const router = require('express').Router();
const UserController = require('./controller');
const { check } = require('../common/middlewares/IsAuthenticated');

router.get('/', check, UserController.getUser);
router.get('/all', check, UserController.getAllUsers);

module.exports = router;
Add to app.js:
const userRoutes = require('./users/routes');
app.use('/user', userRoutes);
Now your /user and /user/all routes require a valid token.
Tip: Postman workspaces enable developers and QA teams to test endpoints collaboratively, leave comments, and document findings in real time.
Step 9: Add role-based permissions
Create common/middlewares/CheckPermission.js:
const sequelize = require('../database');
const defineUser = require('../models/User');
const User = defineUser(sequelize);

exports.has = (requiredRole) => async (req, res, next) => {
  const user = await User.findByPk(req.user.userId);
  if (!user || user.role !== requiredRole) {
    return res.status(403).json({ error: `Requires ${requiredRole} role` });
  }
  next();
};
Then apply this middleware to admin routes. For example, GET /user/all.
This is an example of security built into every workflow, which is a core principle of API maturity.
Step 10: Create a login endpoint
Add this to authorization/controller.js:
exports.login = async (req, res) => {
  const { username, password } = req.body;
  const encrypted = encryptPassword(password);
  const user = await User.findOne({ where: { username } });

  if (!user || user.password !== encrypted)
    return res.status(401).json({ error: 'Invalid credentials' });

  const token = generateAccessToken(username, user.id);
  res.json({ success: true, user, token });
};
And in authorization/routes.js:
router.post('/login', AuthController.login);This endpoint verifies credentials and issues a JWT token for authenticated sessions.
Step 11: Handle errors gracefully
Add this to the end of app.js:
app.use((err, req, res, next) => {
  console.error(err.stack);
  res.status(500).json({
    success: false,
    error: 'Something went wrong'
  });
});
Consistent error responses make debugging and testing easier.
Tip: Use Postman’s built-in test scripts to verify status codes and message structures across all endpoints.
Monitor and observe your API
After your API is deployed, continuous testing ensures it remains reliable.
Postman Monitors can automatically run your collections on a schedule, validating uptime, latency, and response accuracy. You’ll get alerts in Slack or email if something fails, so you can catch issues before customers do.
For deeper visibility, Postman Insights surfaces endpoint performance data, including error rates and response times, providing teams with early insight into bottlenecks. These capabilities bring observability into the development workflow, which is essential for maintaining production-grade APIs.
Step 12: Next steps
You’ve built a complete REST API with secure authentication, validation, and role-based access. From here, you can:
-
Document and share it. Generate auto-updating documentation in Postman to make your endpoints easy for others to explore.
-
Automate your testing. Use the Collection Runner or Postman CLI in your CI/CD pipeline to ensure every build passes validation.
-
Monitor in production. Maintain the reliability of your API by setting up monitors to regularly check uptime and performance.
-
Scale your ecosystem. Add your API to your Private API Network to promote reuse and collaboration across your organization.
With these next steps, your API moves from a working prototype to a trusted, scalable service that others can confidently build on.
Troubleshooting common issues
“Cannot find module” errors
If you see:
Error: Cannot find module 'express'You likely forgot to run npm install or are in the wrong directory. Make sure you’re in the project root (where package.json lives), then run:
npm install
node app.js
Port already in use
If you get:
Error: listen EADDRINUSE: address already in use :::3000Another process is using port 3000. You can either terminate that process or start the server on a different port.
PORT=3001 node app.jsOn Mac/Linux, you can find and stop the process with:
lsof -ti:3000 | xargs killOn Windows, you can find and stop the process with:
netstat -ano | findstr :3000
taskkill /PID <pid> /F
Database “table does not exist” errors
If you see:
SQLITE_ERROR: no such table: usersYour database hasn’t been initialized. Ensure sequelize.sync() runs before your routes are registered. You can force a fresh sync with:
sequelize.sync({ force: true }); // WARNING: deletes all data401 Unauthorized in Postman
Double-check your Authorization header format. It should look like:
Authorization: Bearer eyJhbGciOiJIUzI1NiIsInR5cCI6IkpXVCJ9...Not:
-
Missing “Bearer”:
eyJhbGciOiJIUzI1NiIsInR5cCI6IkpXVCJ9... -
Extra colon: Bearer:
eyJhbGciOiJIUzI1NiIsInR5cCI6IkpXVCJ9...
In Postman, use the Bearer Token authorization type instead of manually typing the header. This ensures proper formatting and token reuse across requests.
CORS errors when testing from a browser
If your frontend can’t reach the API and shows a CORS error, enable Cross-Origin Resource Sharing:
npm install corsThen add this to your app.js:
const cors = require('cors');
app.use(cors());
Creating a REST API with Node.js and Express is a crucial skill for businesses looking to build modern web applications. By hiring a Node.js developer experienced in REST API development, you can ensure a seamless and efficient process. Their expertise in handling routes, HTTP methods, request handling, and data manipulation will be invaluable. So, if you’re seeking to hire a Node.js developer, make sure to find someone who can effectively implement RESTful APIs using Node.js and Express, bringing your web application to life with robust and scalable backend functionality.
Your way of describing the Rest API is extremely marvelous. It clears me all point very neatly. Right now I am creating my API but i have a problem actually i have a mongodb field age and i want to search user as =24, =24 by res query object but problem is this that query object return me string and my parseInt() function can return only equal to (=) so how can i calculate less than equal to (=). i have got NaN error.
Hey Arnav, thank you for your feedback. 🙂 You might find the solution you’re looking for here – https://stackoverflow.com/questions/tagged/mongodb
Absolutely amazing blogs on Rest API .
Thank you very much for such informative blogs
can I get the full code, bcz I got an error router is not defined. Where you defined the router and from what/where ?
Please contact our support team at http://www.postman.com/support and they’ll be able to help you.
Thanks for this. Very informative.
Your API Endpoints list has a couple of typos
Its not /users/…
Its /user/…
Thank you! Sorry about the typos, fixed them.🙂
In step six the reader is directed to create a file named config.js, and in the file the value PORT is declared and defined. The listening code is then added to app.js . When I do this and run app.js, I get an error saying that PORT is undefined.
You appear to have left something out. Don’t assume that the reader is going to notice things that are missing.
You’re right, the PORT needs to be defined within the app.js file. Updated this, thank you for bringing it up. It should work just fine now, let us know if you run into any other issue.🙂
This dosen’t work. Did you even try it?
Sorry to hear that this isn’t working for you. Can you let us know if you’re hitting a snag with a specific step so we can help you better?
I’m can’t figure out how to use the access token once I’ve obtained it. I’m using postman. I post my signup and I post my login. I get a successful login with a token returned. But then I try to GET the /user/all I’m told I didn’t provide auth headers in the request. I tried to figure out the JWT Bearer with no luck.
Please contact our support team at http://www.postman.com/support, and they’ll be able to help you.
This tutorial is a mess. It starts off excellent, but quickly becomes confusing and unclear . I was trying to follow along on my own, while also having the repository alongside as a companion. I got to the “Defining the auth module” section, and there’s no mention of creating specific files (i.e. AuthorizationController.js), etc. You have to navigate the repository, which contains 100x more files and code than what is being taught here. The purpose of a tutorial is to hold someone’s hand, and guide them through the process of implementing something, one step at a time. Please consider that in future work. Thanks.
This code cant work. More bugs then code…
Please contact our support team at http://www.postman.com/support, and they’ll be able to help you.
You should probably mention that the entry point during npm init should be changed to app.js instead of the default index.js.
Really helpful for to understand
How can we initialise the sqlite database ? The code cloned from github works fine. But when I try to run, I get ERROR: Please install sqlite3 package manually
Please contact our support team at http://www.postman.com/support and they’ll be able to help you.
It is important, especially for Node.js beginners like me, to tell your readers how to run a node application in order to see the results of this exercise. For those who wonder how to start the Node server just go to your console (in the directory where your application resides) and type this command: node app.js
On step 6 the port variable passed to console.log should be PORT in caps, otherwise it will return undefined. On step 7 it’s missing one step, which is to start the node server first(by typing “node app.js” in the terminal) otherwise Postman will return an error. These simple mistakes may not be obvious to beginners like myself.