How to Use the MongoDB Atlas Administration API in Postman

This is a guest post written by Lauren Schaefer, staff developer advocate at MongoDB.
MongoDB Atlas is a multi-cloud document database service that makes working with data easy. Atlas has a web interface that allows you to configure your databases, charts, data lakes, and application services with a few clicks of the mouse.
Atlas also has an Administration API, which you can use to programmatically interact with the database service. For example, you can use the Atlas Administration API to create database deployments, add users to those deployments, monitor those deployments, and more. These API calls are especially useful to those who create CI/CD pipelines as well as to IT professionals who create self-serve developer portals.
Postman is a popular API platform that makes working with APIs easy. MongoDB Senior Solutions Architect Cassiano Ziegler Bein created a Postman Collection that contains a request for every endpoint in the Atlas Administration API. This collection is an excellent complement to the detailed MongoDB documentation on the Atlas Administration API.
In this blog post, I’ll walk you through how to access and use Cassiano’s Postman Collection, so you can quickly learn to use the Atlas Administration API.
Set up Atlas
The first thing you’ll need to do is create a database deployment in Atlas. Note that a free database deployment is sufficient for this tutorial. If you want to run all of the APIs in the collection, you will need to upgrade to a paid deployment.
- Navigate to Atlas and then register or authenticate.
- Create an Atlas organization. This organization is where you will store your projects.
- Create a project in the organization you just created. The project is where you will store your database deployments.
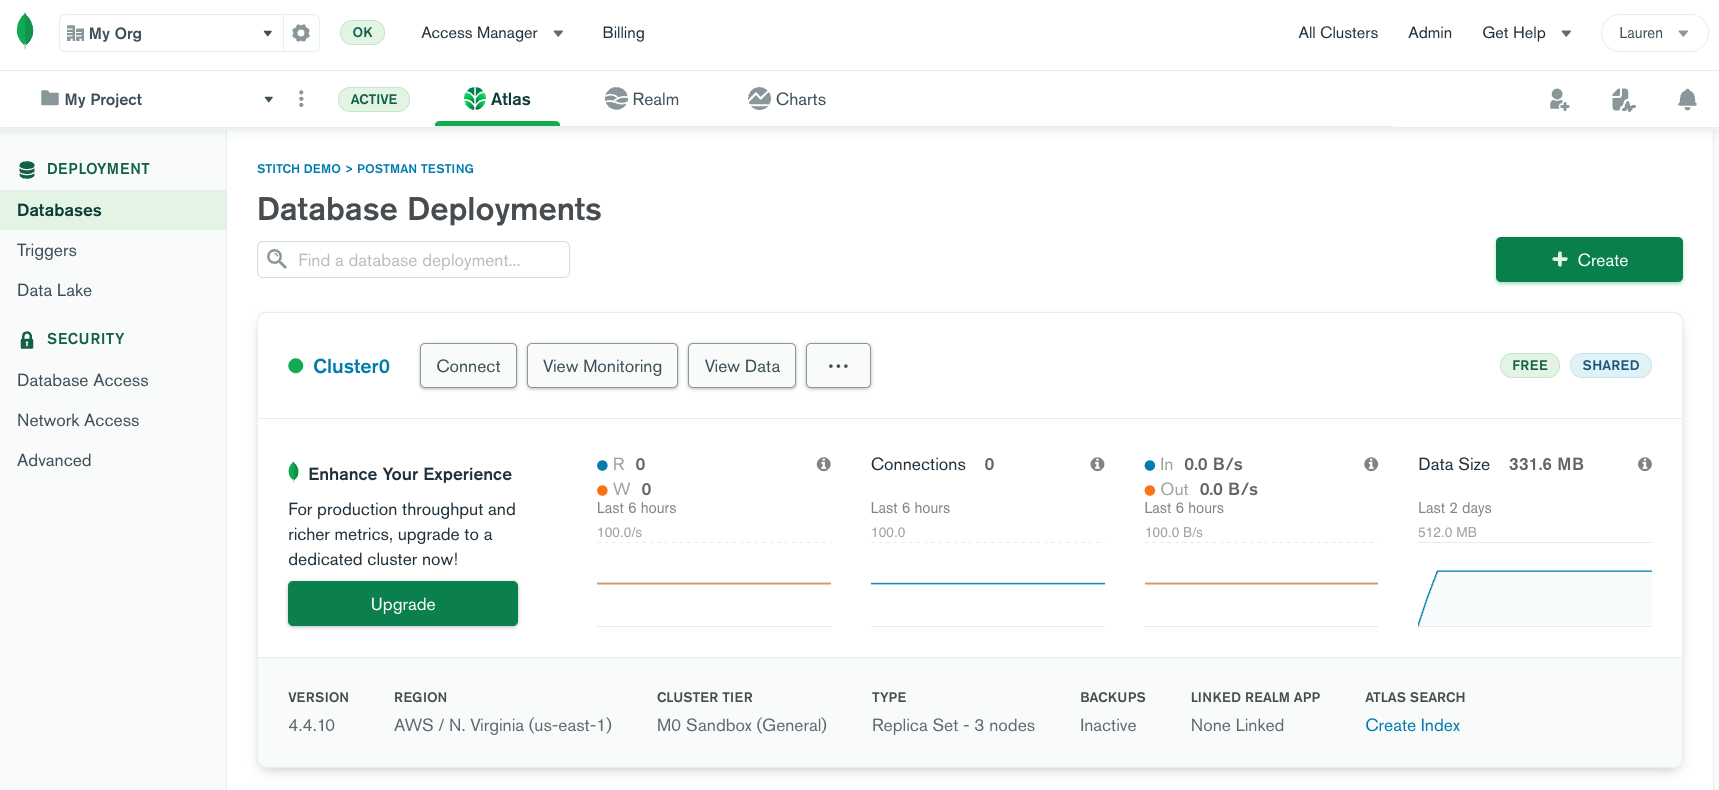
- Create a database deployment in the project you just created. The database deployment is where your databases will be stored.
- Navigate to the Project Settings page for your project. Store the Project ID in a safe place. You will use it later in Postman.

Now that you have a database deployment, let’s create an API key. You will use this API key later in Postman to authenticate to Atlas.
- Create an API key in the organization you created in the previous section. Grant the API key the Organization Owner permission.
- Add your current IP address to the API Access List for this API key.
- Store the API public key and private key in a safe place. You will use them later in Postman.
Set up Postman
In this section, you’ll complete two tasks: fork a copy of the Postman Collection with all of the Atlas Administration API calls and configure the authorization for all of the requests in the collection.
Note: The steps below will use the Postman web interface, but you can choose to use the Postman desktop application if you’d like.
- Fork the MongoDB Atlas collection to one of your Postman workspaces using this button:
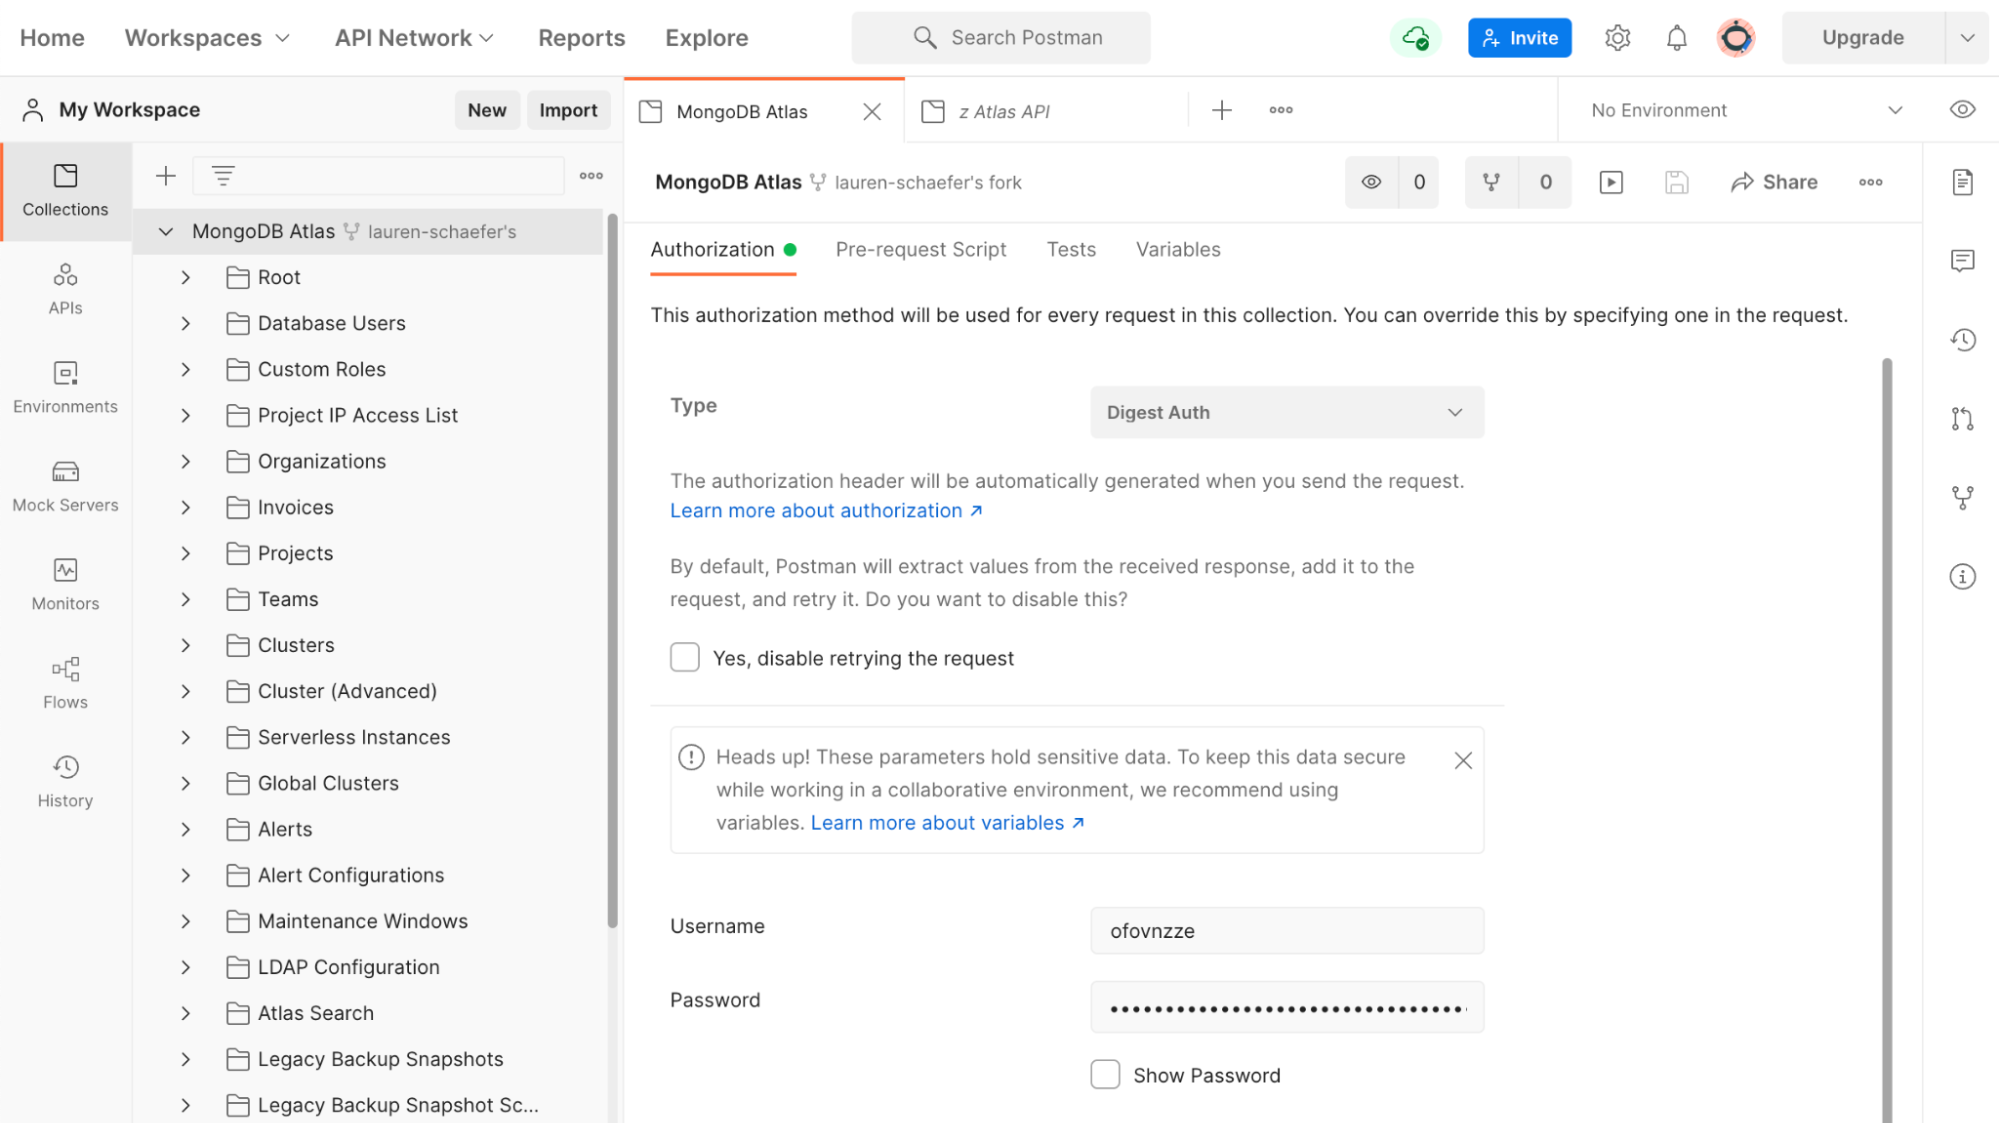
A copy of the MongoDB Atlas collection and the Atlas environment will be added to your workspace. You will be redirected to your workspace. - Open the MongoDB Atlas collection and then the Authorization pane.
- Ensure the Type is set to Digest Auth.
- Input the Atlas API Public Key in the Username field.
- Input the Atlas API Private Key in the Password field.
- Save the collection.

The requests in the collection are grouped together by the resource they interact with. Each resource has its own folder. For example, you’ll find folders for Clusters, Projects, and Alerts.
Some of the requests in the collection use variables. The variables allow you to configure the requests for your Atlas project. A Postman environment is a place to store variables the requests can use.
When you forked the MongoDB Atlas collection, a copy of the Atlas environment was also added to your workspace. In this section, you’ll update a variable stored in the Atlas environment.
- Open the Atlas environment for editing.
- Update the current value of the ProjectID variable to the Atlas project ID you retrieved in an earlier section.
- Select the Atlas environment as your active environment.
Make a request
Now that you have configured Atlas and Postman, you are ready to make your first request.
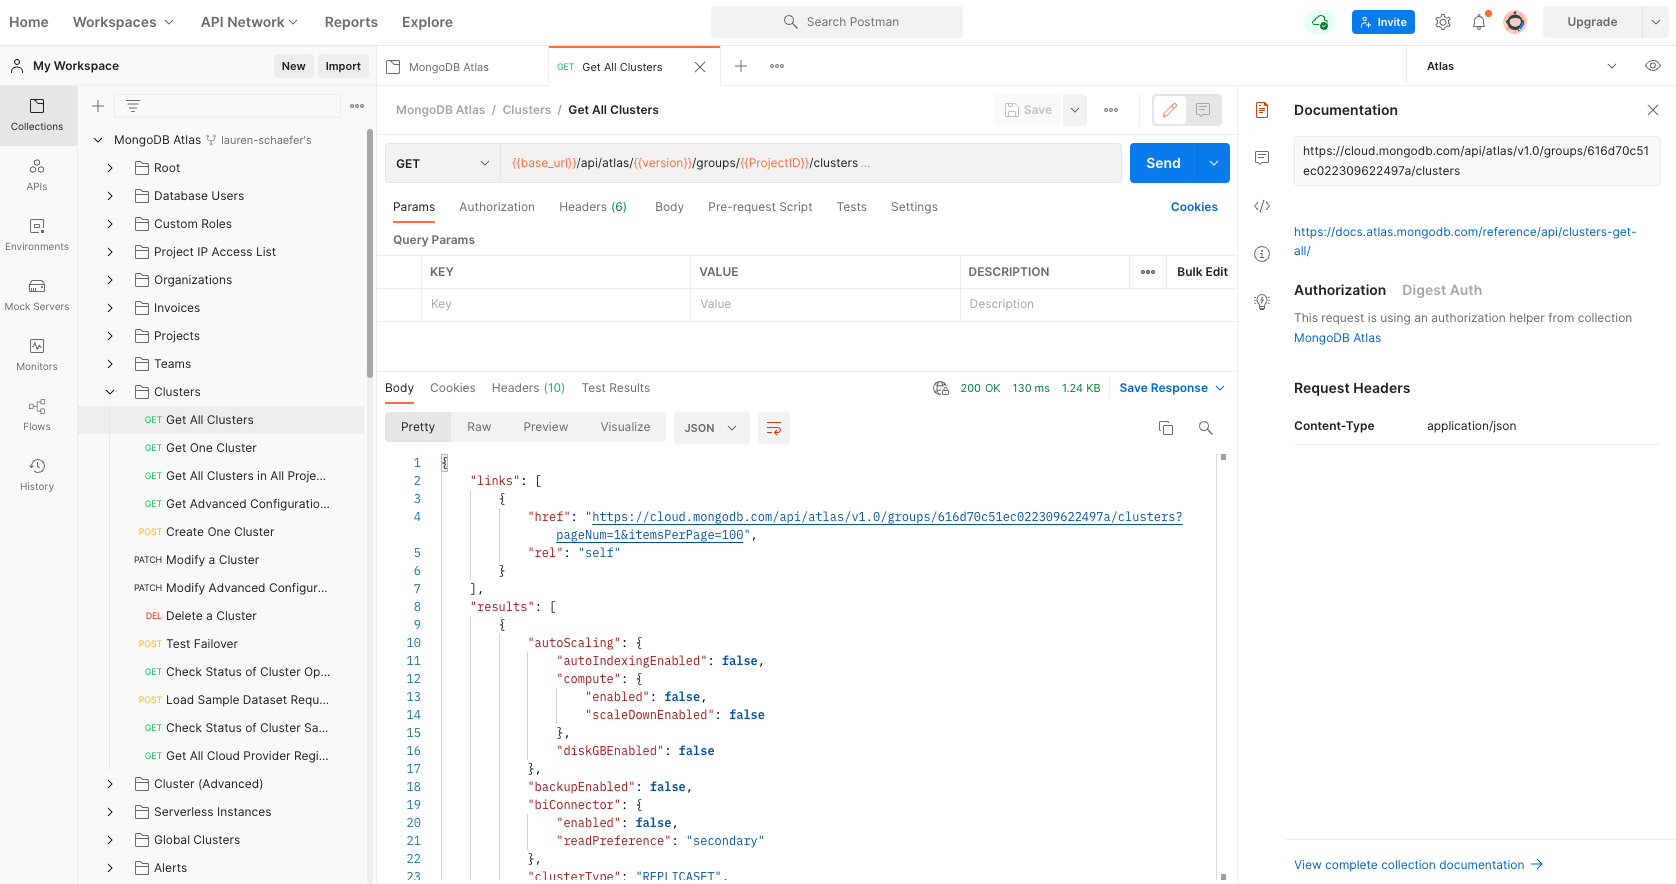
- In the MongoDB Atlas collection, expand the Clusters folder.
- Select the Get All Clusters request. See the MongoDB documentation for details on the Get All Clusters endpoint.
- Click Send to run the request. The API endpoint returns information about the clusters in your project.
Note: If you are running this request in the Postman web interface instead of the Postman desktop application, the API may return a 403 error indicating that an IP address is not allowed to access the resource. This is because the request is coming from the Postman server instead of your local machine. During development and testing, you may choose to add the Postman server’s IP address to your API key’s access list.

You did it! You made your first request to the Atlas Administration API from Postman.
The MongoDB Atlas collection contains requests for a variety of endpoints. Take some time to explore the requests in the collection and try them out.
Note: GET requests retrieve information from Atlas. Other request types like POST, PATCH, and DELETE will make changes to your Atlas resources.
Summary
The MongoDB Atlas Administration API provides you with a programmatic way to manage your data and configurations in the Atlas cloud data platform. The MongoDB Atlas Postman Collection simplifies getting started and exploring the Atlas Administration API.
Want to see the MongoDB Atlas Postman Collection in action? Join us for our upcoming livestream:
- “Learning with Luce – Automate the Automation on MongoDB Atlas (Atlas API & Postman)” on January 13, 2022: featuring Luce Carter (developer advocate at MongoDB), Cassiano Ziegler Bein (solutions architect at MongoDB), and Meenakshi Dhanani (developer advocate at Postman).
If you have any questions about the Atlas Administration API or how to use this collection, join us in the MongoDB Community. MongoDB employees and members of our community are there every day answering questions. I hope to see you there!
Technical review by Arlemi Turpault.

What do you think about this topic? Tell us in a comment below.