
How to Set Up Your First Public Workspace in 5 Easy Steps
Since Postman announced the launch of public workspaces, you might be wondering what all the hubbub is about. Public workspaces are just like personal or team workspaces, except they’re visible to everyone.
Let’s set up our first public workspace in five easy steps.
Step 1: Start with a workspace
You can start off with a new Public workspace. But in this example, let’s create a Personal, Team, or Private workspace first, so we can update the visibility to Public when we’re ready.
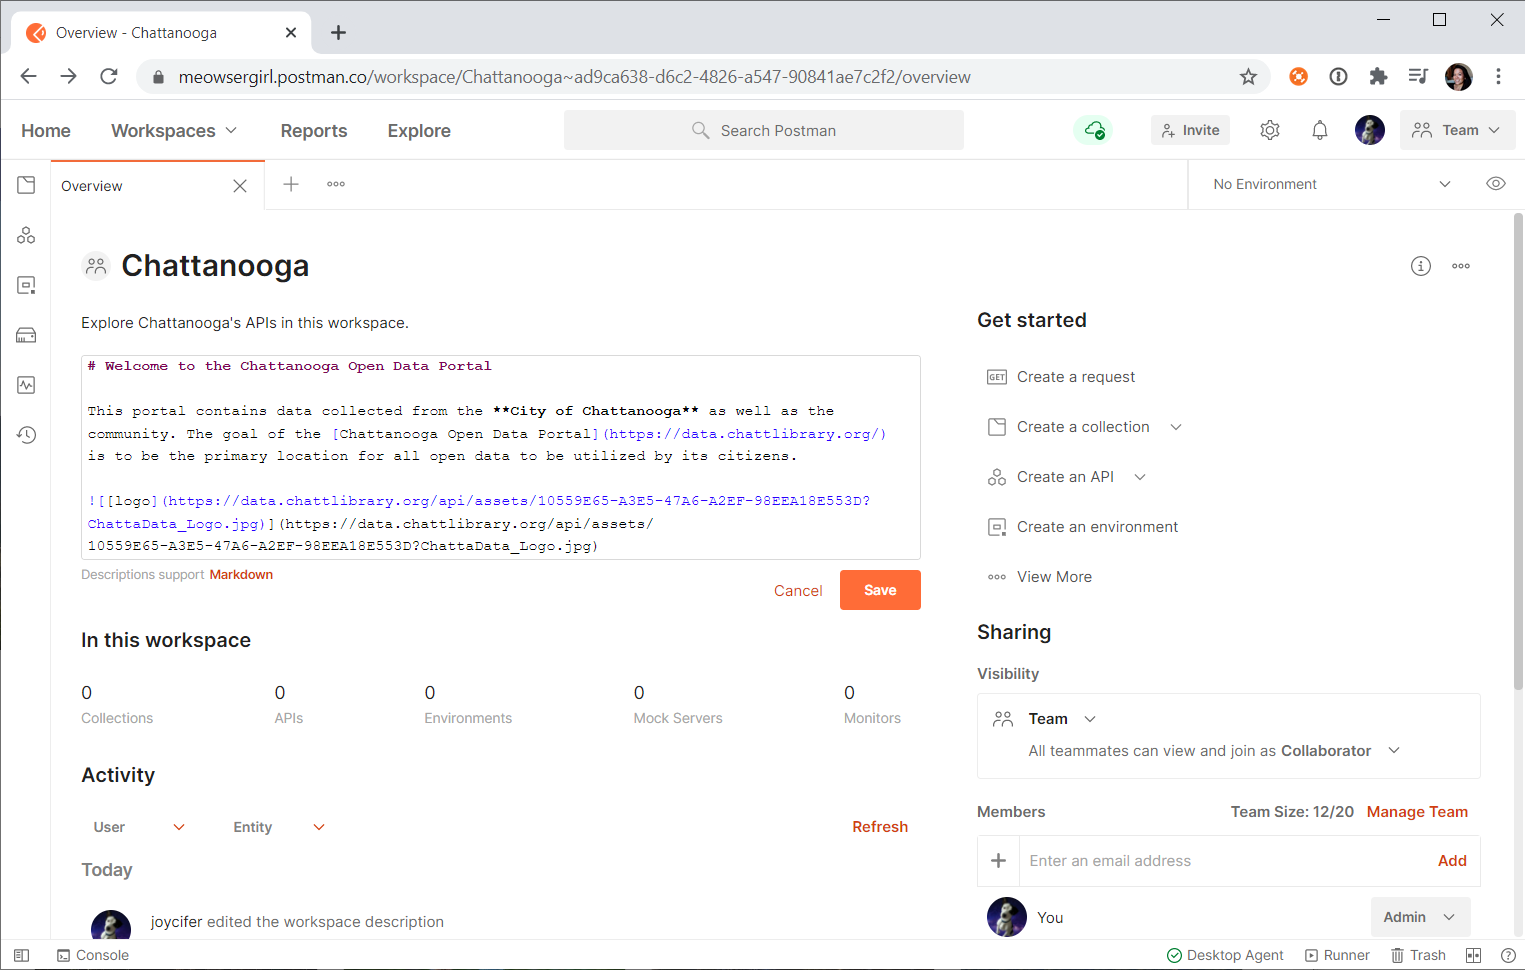
Once you create a new workspace, add a markdown-formatted description. Postman automatically provides an overview of the workspace’s contents, activity, and members. Providing more content like images and additional context helps future contributors understand the purpose of your workspace. Think of it as a homepage for your workspace.
Step 2: Add an API specification
This step is optional. If your team practices API-first design and development, you probably rely on a specification format like OpenAPI or GraphQL to define your API. Under the APIs tab, import an API if you have a specification file, or directly author the definition in Postman.
If you’re maintaining the spec file in source control like GitHub, make sure to connect the repository so that updates to the underlying file stay in lockstep with this version in Postman.
Step 3: Add a collection
This is the crowd-pleaser. Most collaborators are looking for Postman Collections. You might include API documentation for users to reference during onboarding. You can also demonstrate custom workflows. If something can be done with APIs, it can be documented in a collection.
There are three options for adding a collection to your workspace:
- New: Under the Collections tab, you can create a brand new collection within this workspace.
- Generate: If you added a spec in the previous step, use the API specification to generate a collection.
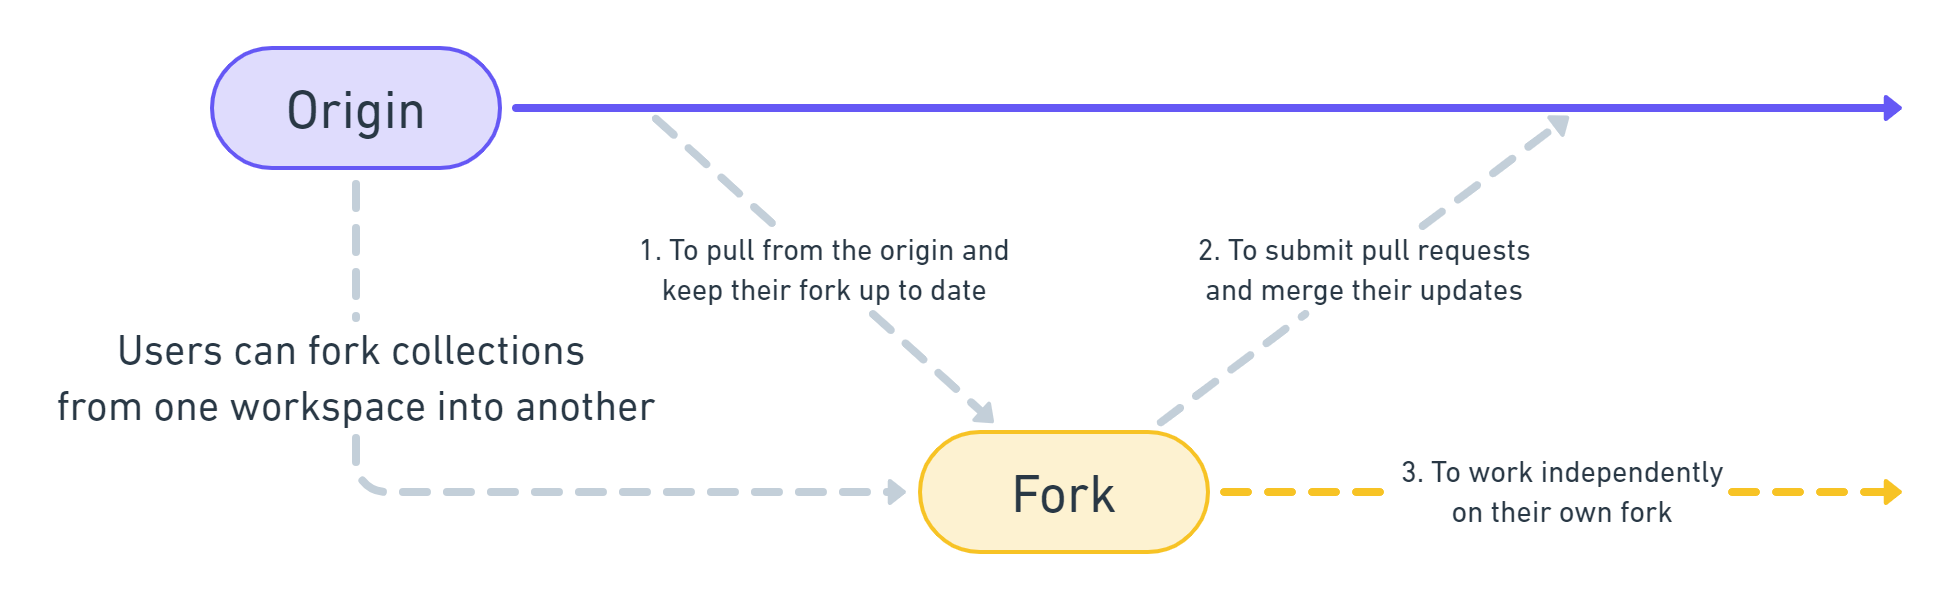
- Share or fork: You can share an existing collection from one workspace over to this workspace, so that the collection exists in both workspaces. A better practice is to fork the collection. It’s up to you where the origin collection should reside. For example, you may choose to fork an existing collection over to this soon-to-be public workspace. Alternatively, you may decide to create and maintain the origin collection in this workspace, but then fork it over to another workspace for some other type of collaboration.
Add as many collections as you’d like. Here are some criteria to guide and inspire your collections. Your collections are only limited by the imagination.
Step 4: Add an environment, mock, monitor, or documentation
There are many more ways to enrich your workspace and make it more usable for collaborators. Add as much, or as little, as you choose.
- Environments: An environment is a useful way to prompt users to input required variables and allow them to toggle between various configurations. Since we plan on making the entire workspace public, it’s very important to remove any sensitive tokens listed under INITIAL VALUE of your environments, or better yet, replace those values with placeholder text.
- Mock Servers: A mock allows you to simulate a server response. For example, if you want to prototype a server response, or illustrate an expected response from an external dependency, set up a mock server to return mock data.
- Monitors: Once you have written tests or programmed a workflow in a collection, schedule a monitor to run the collection at a predetermined frequency. Collaborators will be able to view the monitor runs, test results, and logs.
- Documentation: Show collaborators how to get started in your workspace by adding descriptions and summaries for requests, collections, and APIs like we did in Step 1: adding a markdown-formatted description for our workspace. Here are some guidelines for more effective documentation in Postman.
Step 5: Spruce up your profile
Before updating your workspace visibility to Public, navigate to your personal profile or team profile settings and enable your public profile. Put your best foot forward by updating your profile photo, cover image, and bio. If you have more to add to your workspace description from Step 1, go ahead and do that now too. Taking the time to do this gives readers a clear sense of who you are, helping them decide whether to collaborate or not.
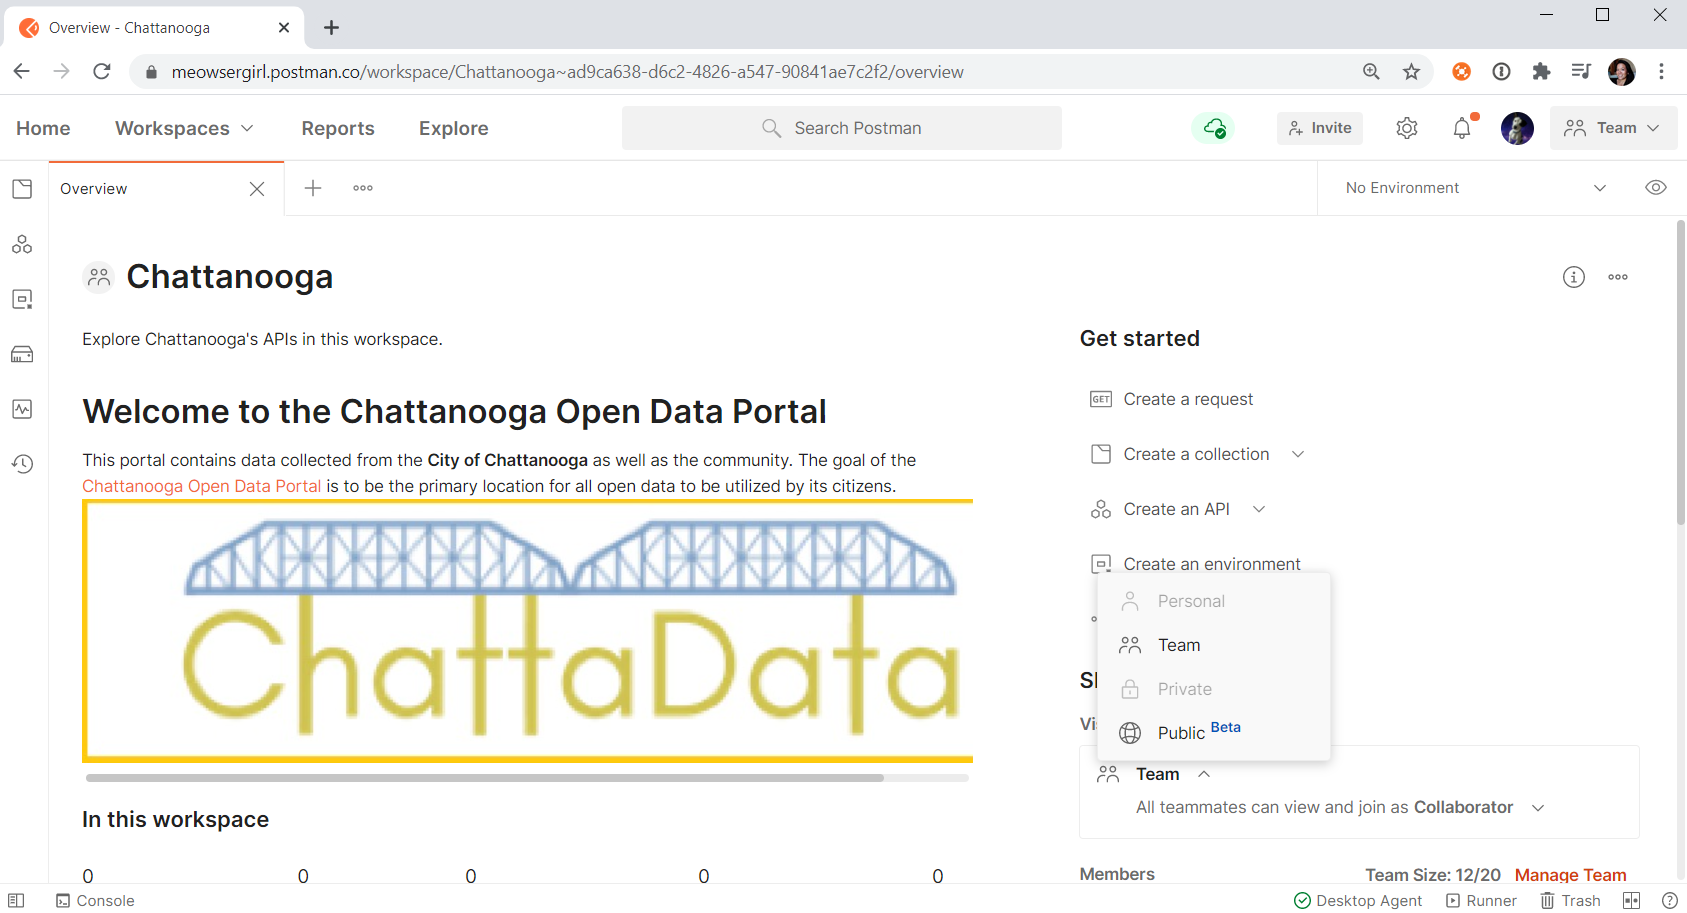
When you’re ready, return to the workspace overview to change the Visibility dropdown to Public.
Once your workspace becomes public, anyone can find it on the Public API Network—so don’t forget to update the summaries and add category tags for your public workspaces, APIs, and collections from your public profile.
And now the fun begins!
Cool stuff people can do with your new public workspace
Here are three things anyone signed in to Postman can do with your new public workspace:
- Watch APIs: If someone is dependent on your API, they can “watch” it and be notified when the team makes updates.
- Fork collections: People can fork collections into their own workspace to work independently in their own fork, pull from the origin to keep their fork up to date, and submit pull requests to merge their updates.
- Comment: The community can comment on APIs and collections to provide their feedback and engage in meaningful dialogue about your workspace.
API builders are excited about public workspaces because it opens up an entirely new way to collaborate with folks beyond their immediate team. Some want users to learn about and use their API. Others want to stress test and gather user feedback to improve their API. Some are community organizers creating resource centers for data-driven initiatives.
Let us know what you’re doing with your workspaces! We look forward to seeing the creativity bubbling up from the Postman community.
Technical review by Avinash Choudhary.
Hi, i want to ask
Why when i create a public workspace, postman always change my public workspace to private workspace automatically in a few minutes?
And how if i want to set my workspace always public?
Thank you very much
You can set the visibility of a new workspace when creating it. If the visibility is changing unexpectedly, make sure your connection to the internet is stable. In other words, make sure the visibility selection is saved. Otherwise, you may consider reporting a bug.