
Using a mocking service to create Postman Collections
A very common problem faced by back-end dev teams is effectively agreeing upon an API contract with the front-end team or API consumer. Using Postman and an HTTP mocking service like mockable.io can make things easier.
Mockable will let you define static responses for a fixed set of endpoints. Let’s assume our use-case is to build out a user registration service.
We need the following API endpoints:
1. Signup POST /user (success and failure)
3. Login POST /login (This is a POST because most login calls will create a new access token and change the “last login attempt” and “failed attempt” fields on the server.)
We’ll use Mockable to represent our actual API as closely as possible.
- First, we’ll head over to Mockable and create our mocks. Open https://mockable.io in your browser.

- Click Try Now! You’ll be assigned a temporary user account.
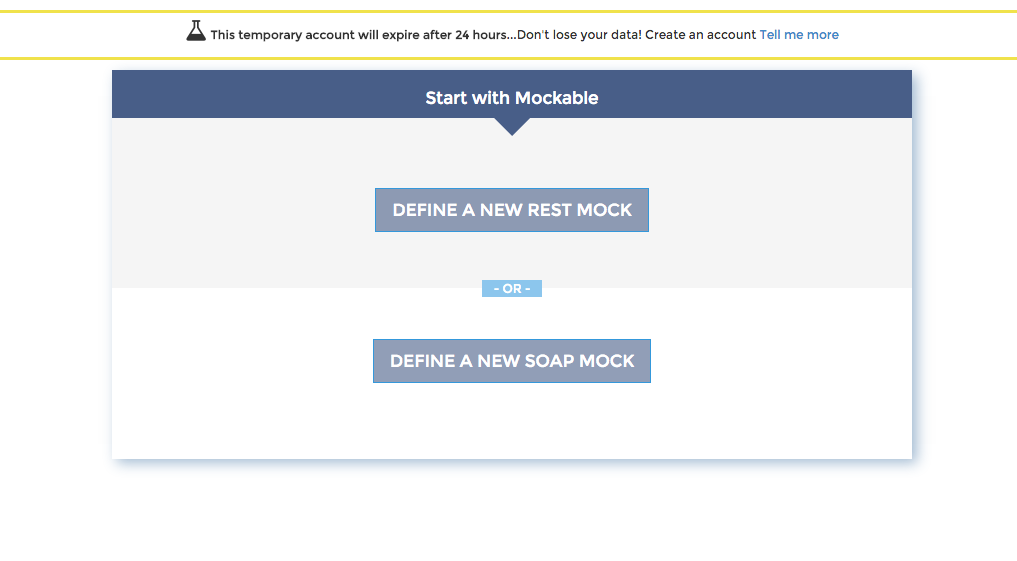
- Select REST from the REST/SOAP dialog.
- You’ll see a UI not very different from that of Postman. Let’s start by creating our first endpoint.
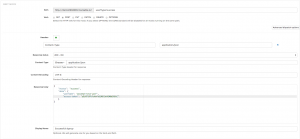
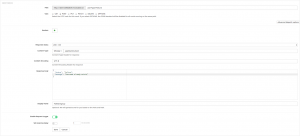
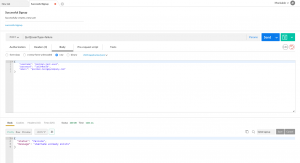
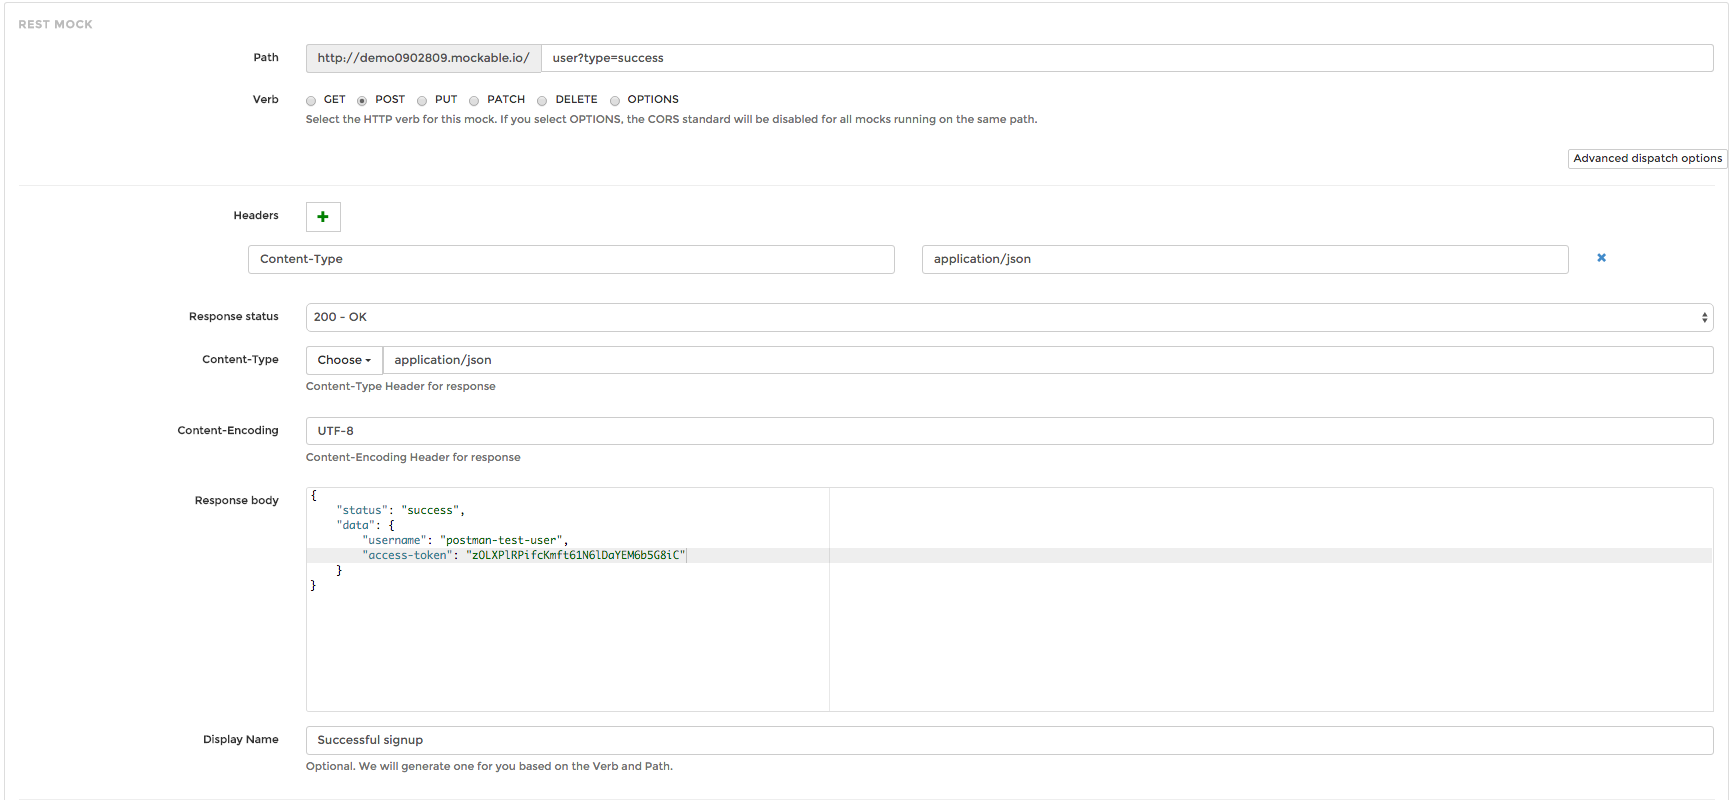
- A Signup call will usually need the following inputs: username, password, and email, and will return an access token if the user was created successfully, or a failure code if the username/email already exists. We’ll define two mocks for this endpoint – one for a successful sign up, one for a failure. For the first one, we’ll append `?type=success` to our URL. Let’s enter a response body that we might expect after a successful API call:
{
    "status": "success",
    "data": {
        "username": "postman-test-user",
        "access-token": "zOLXPlRPifcKmft61N6lDaYEM6b5G8iC"
    }
}
You can enable the request logging option if you need to. Here’s what the form looks like:
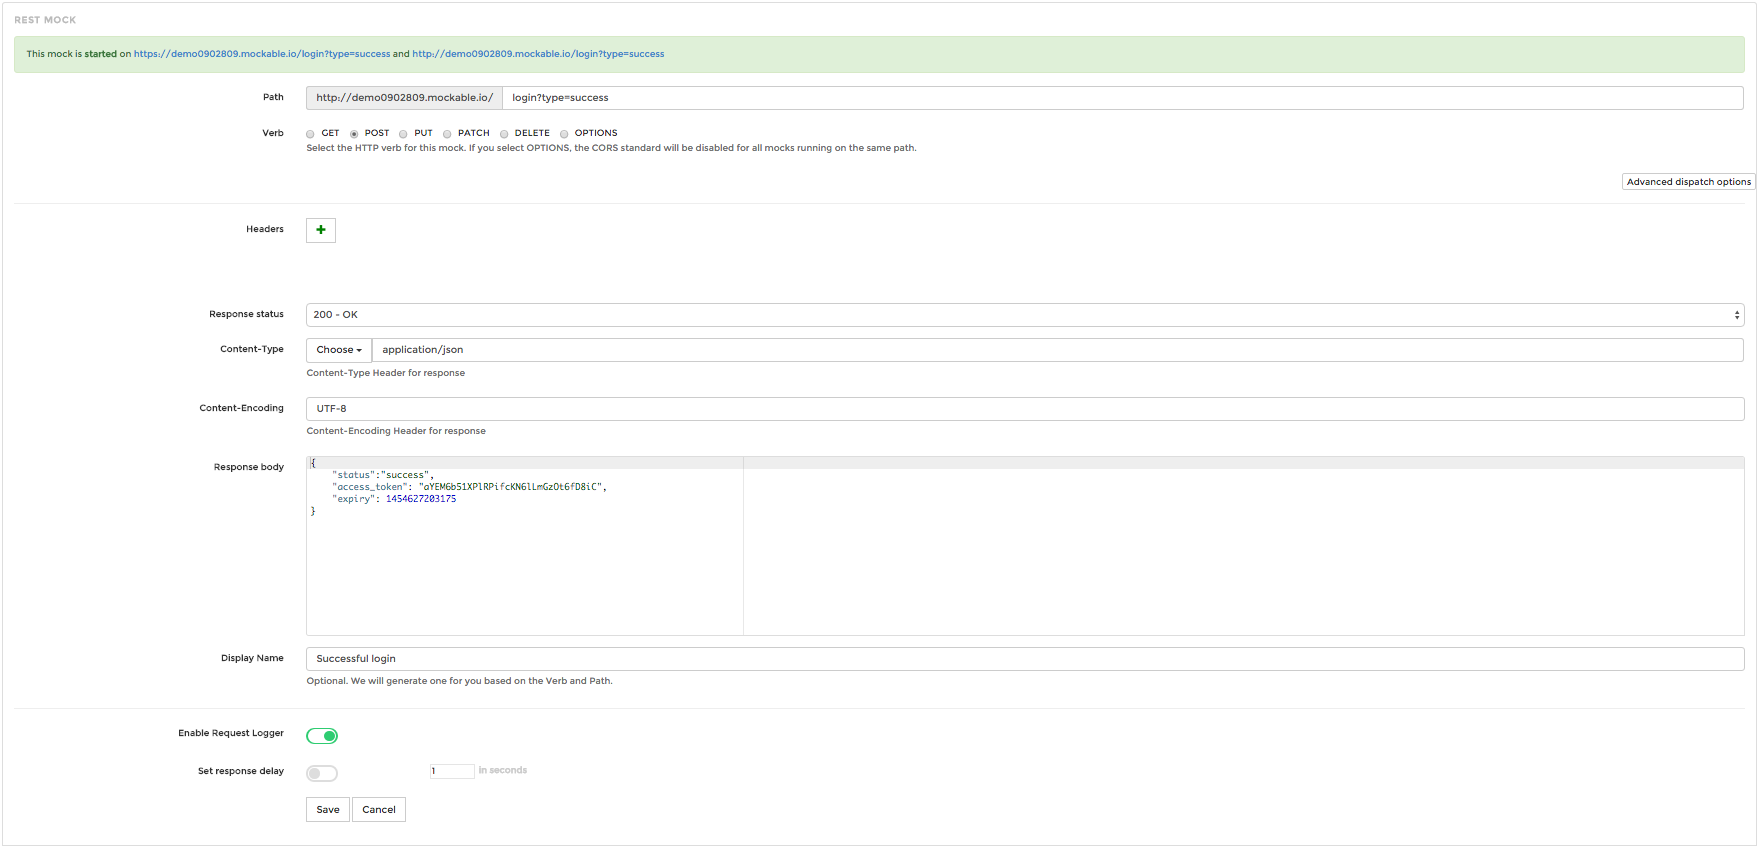
- Hit Save. You’ll see that the mock has been created, but not started. Choose ‘Start’ from the Actions menu. Click on the name of your mock to see the mock URL. You should see something like `This mock is started on https://demo.mockable.io/user?type=success and http://demo0902809.mockable.io/user?type=success` at the top of your screen. These URLs can be used to access this particular mock.
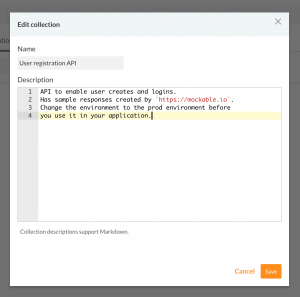
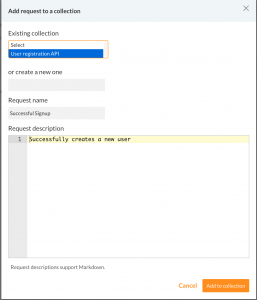
- The endpoint is now live! This means we can use it in Postman. Start by creating a new collection in Postman.
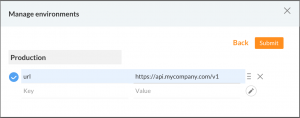
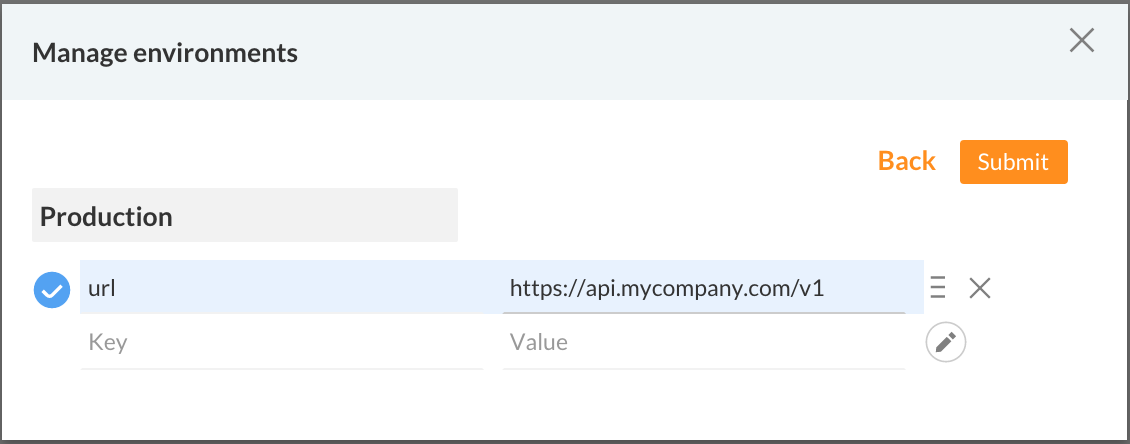
- Since the front-end team will be switching between our mock service and the production service, it’s best to create two environments.
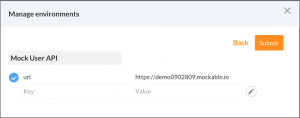
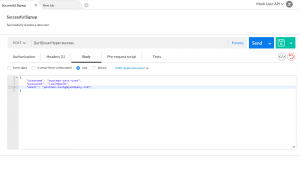
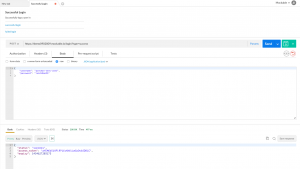
Select the Mock User API environment for now. - Copy the https://demo.mockable.io/user?type=success URL into Postman’s request bar and replace https://demo.mockable.io with {{url}}, which was the environment variable that we created. Change the request method to POST.
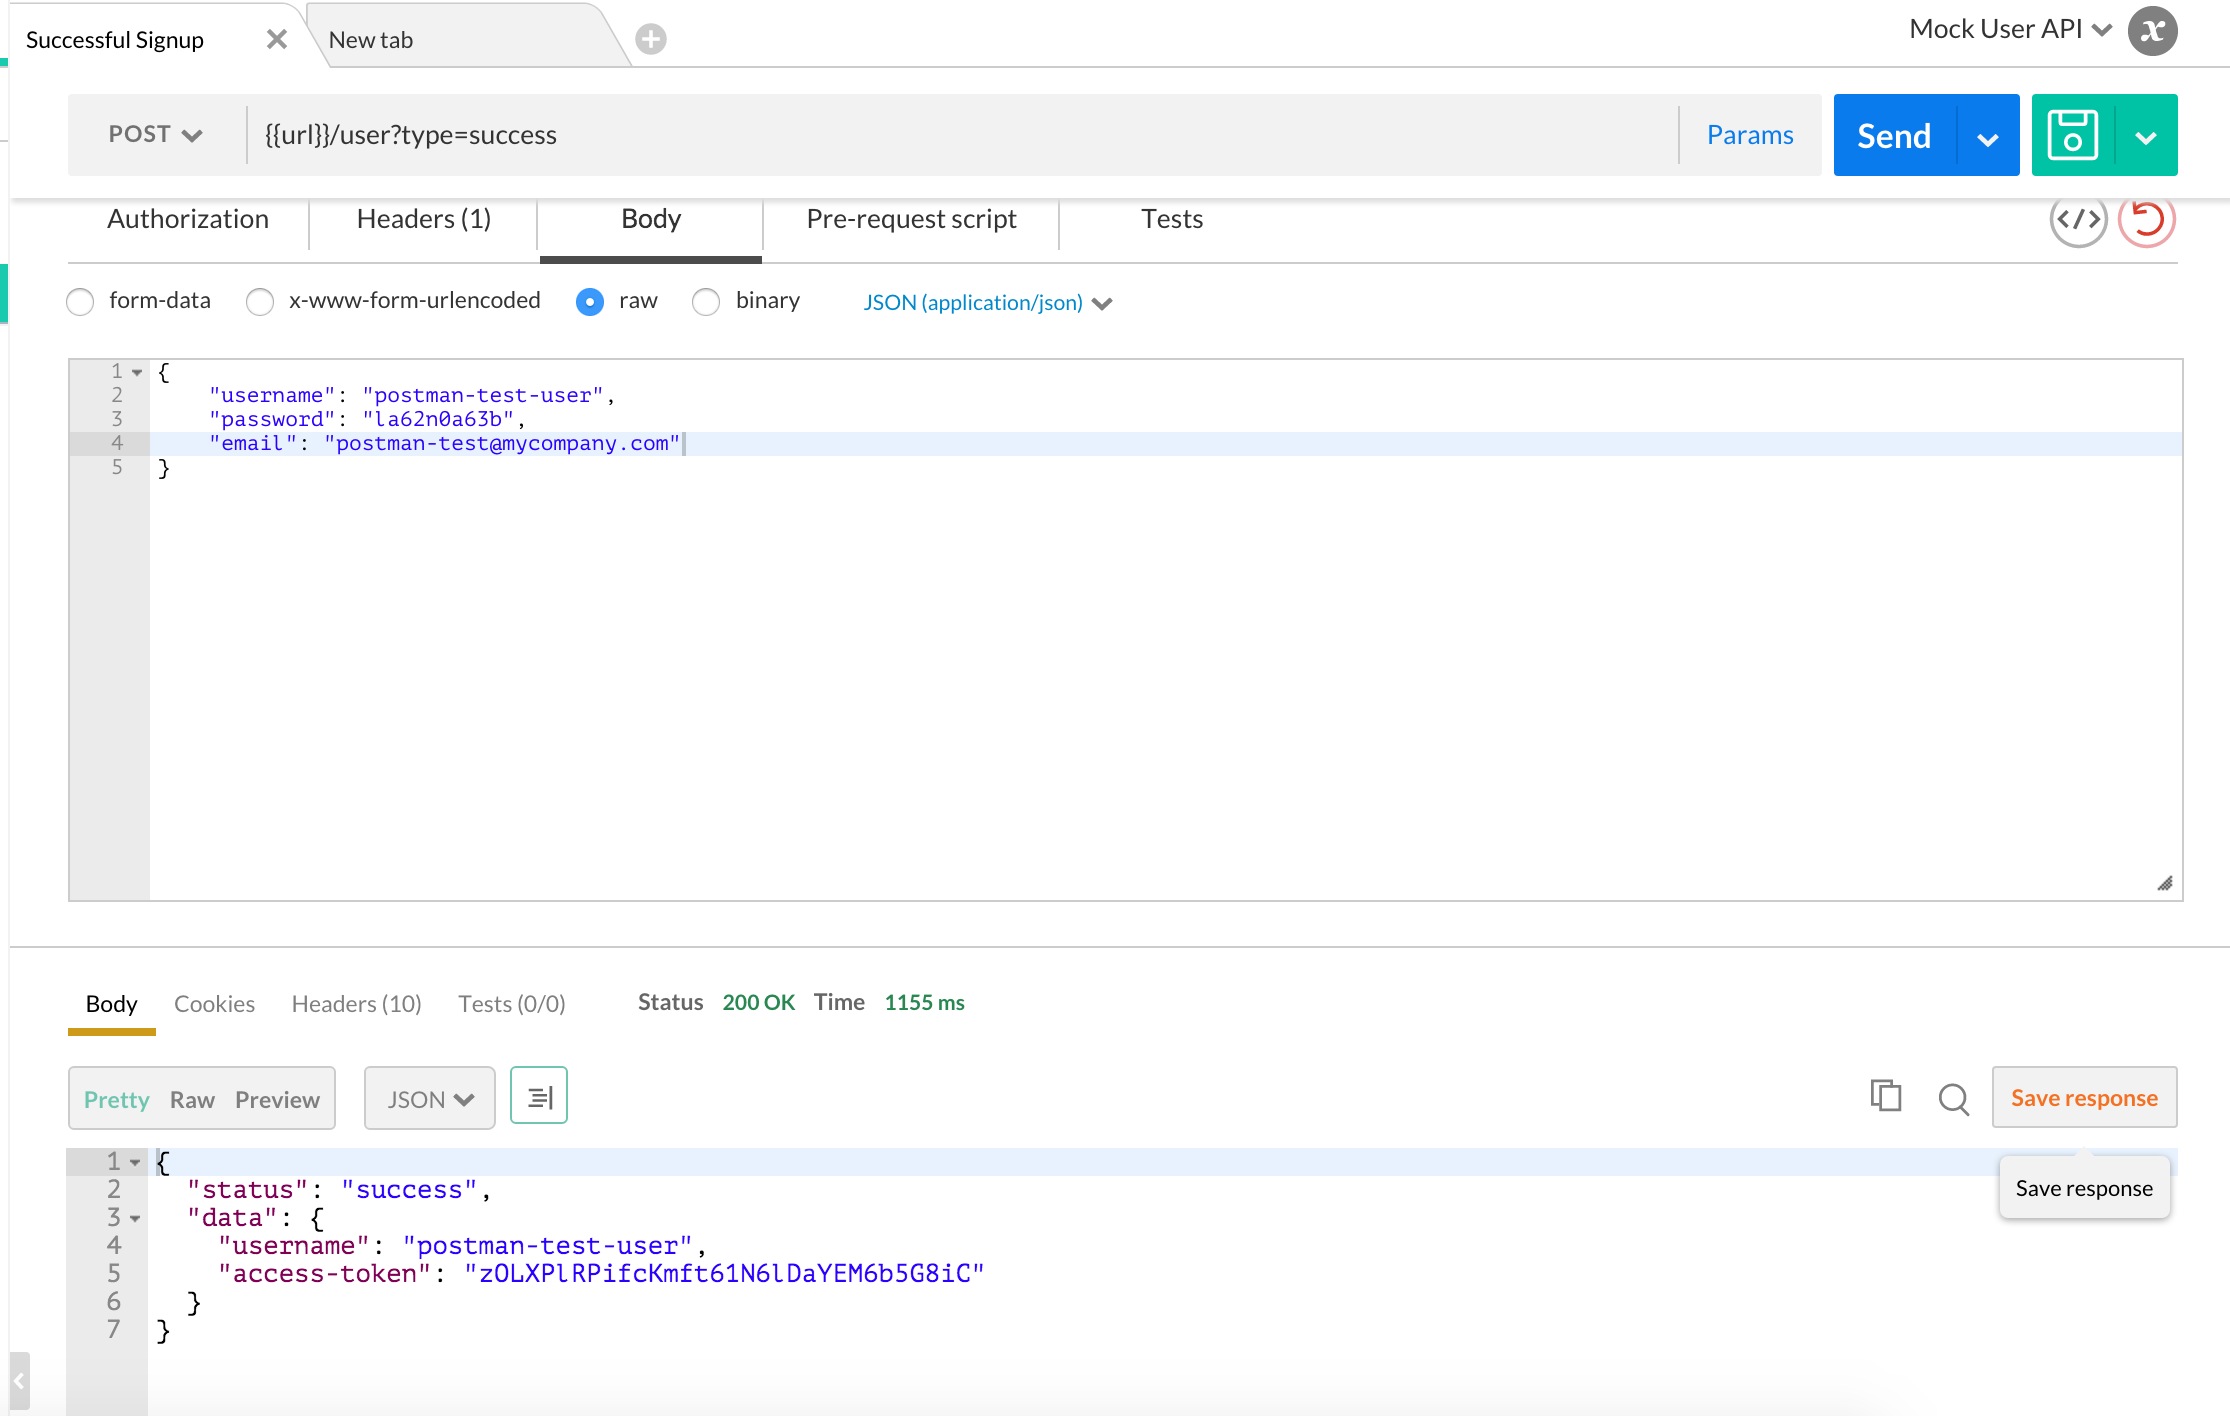
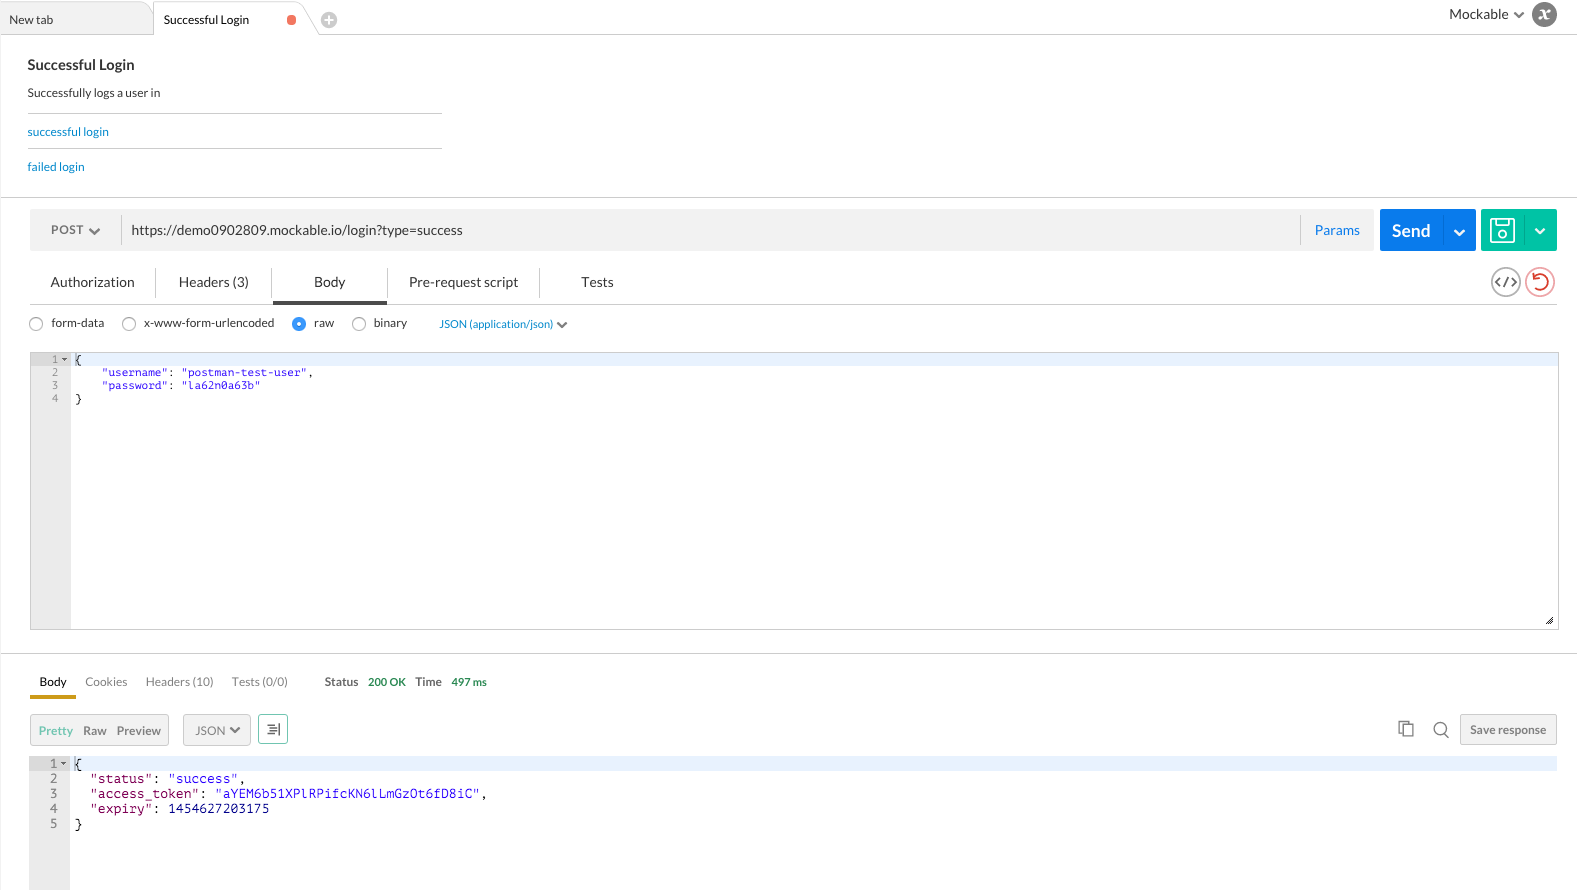
- Hit Send! You should see the sample response that we created in Mockable. Let’s save this request to our collection.
- Of course, we’ll need a request body in the actual API. Let’s go ahead and add that. Don’t forget to save the request when you’re done. This request body will be the request payload that your API will require.
- Send the request again. Now that the request is saved in a collection, we’ll be able to save the sample response.

The response link will be visible in the saved response list:

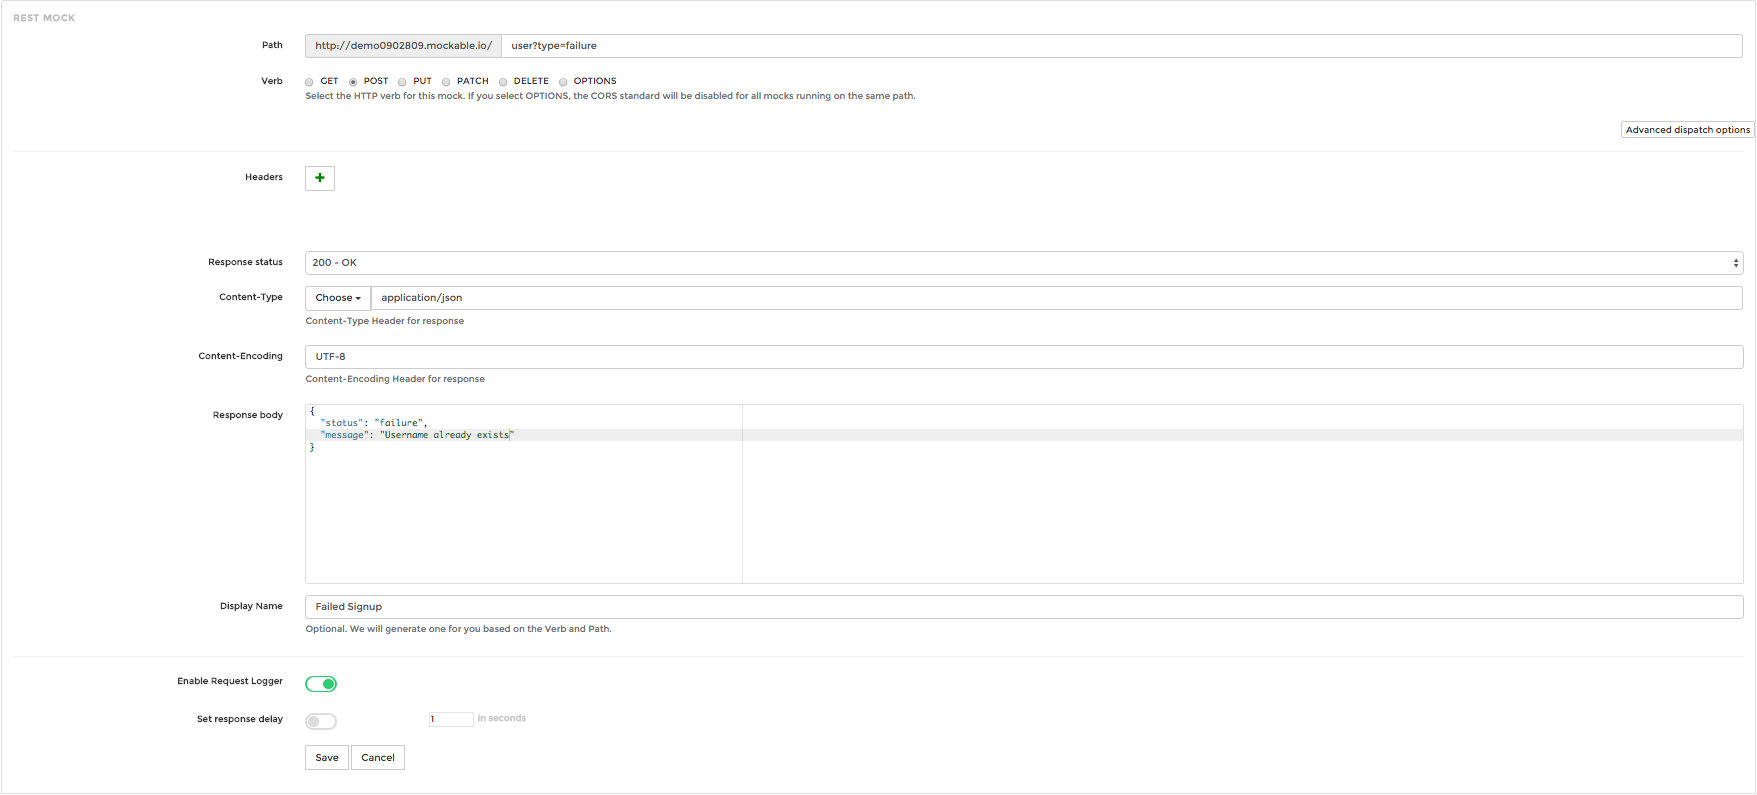
- Let’s create more mocks for: Create a user (failure), Login (success and failure). Go ahead and start all 3 mocks.

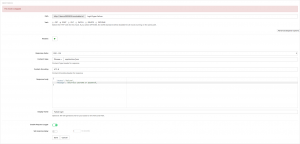
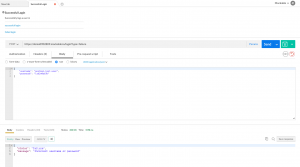
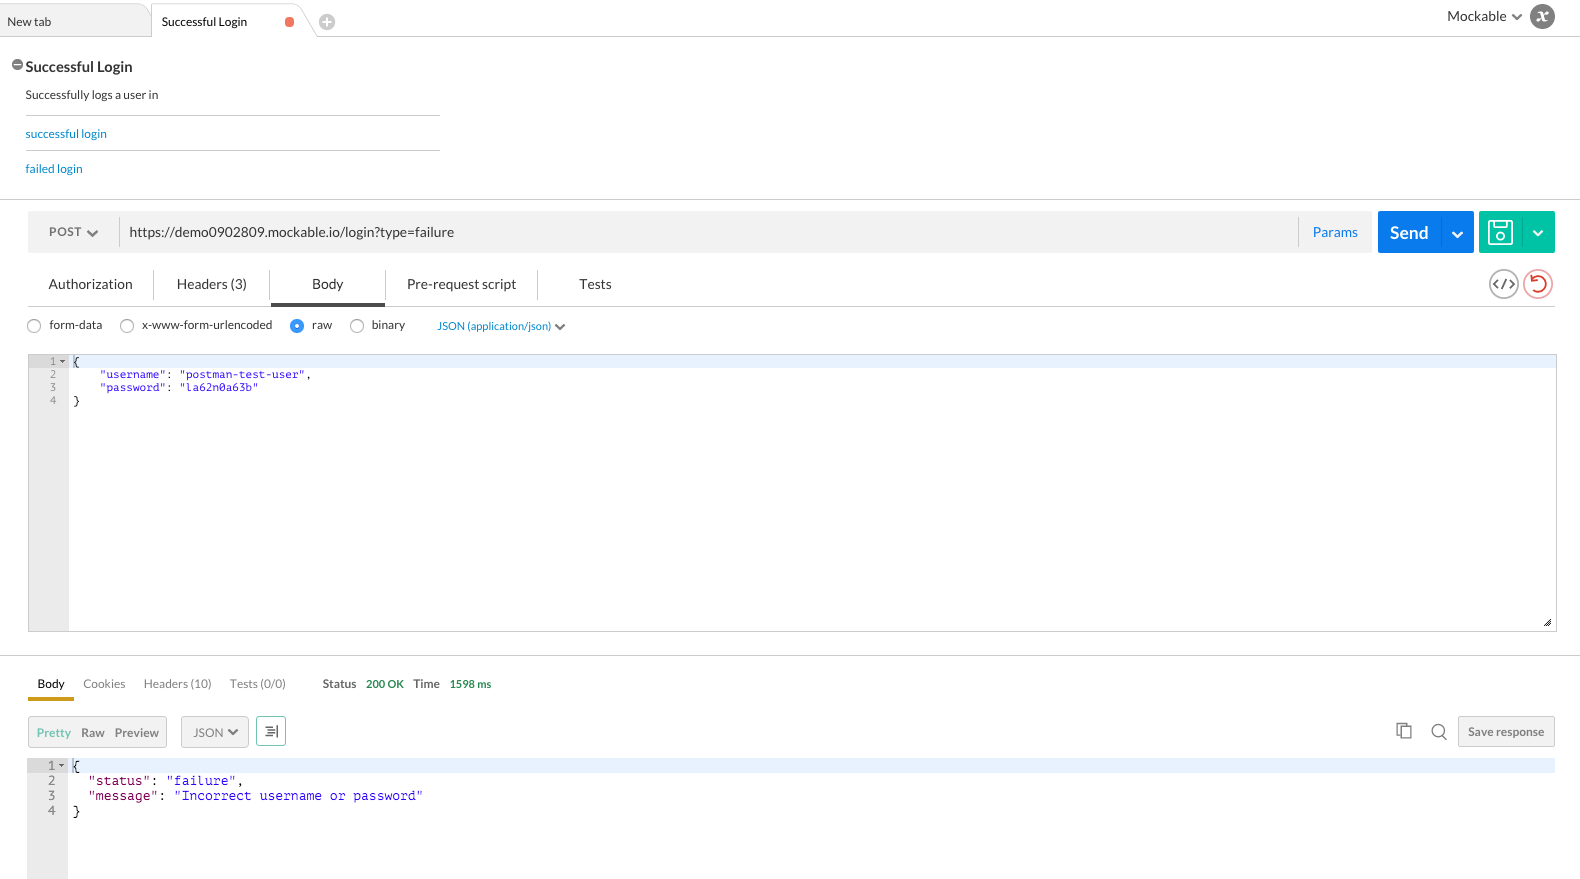
- Back to Postman! We can change the `type=success` in our `Successful Signup` request to `type=failure` to mock the failed signup. Make the change in the URL, and you’ll see that the `failed signup` mock that we had created is visible in the response section. Save this as a sample response.
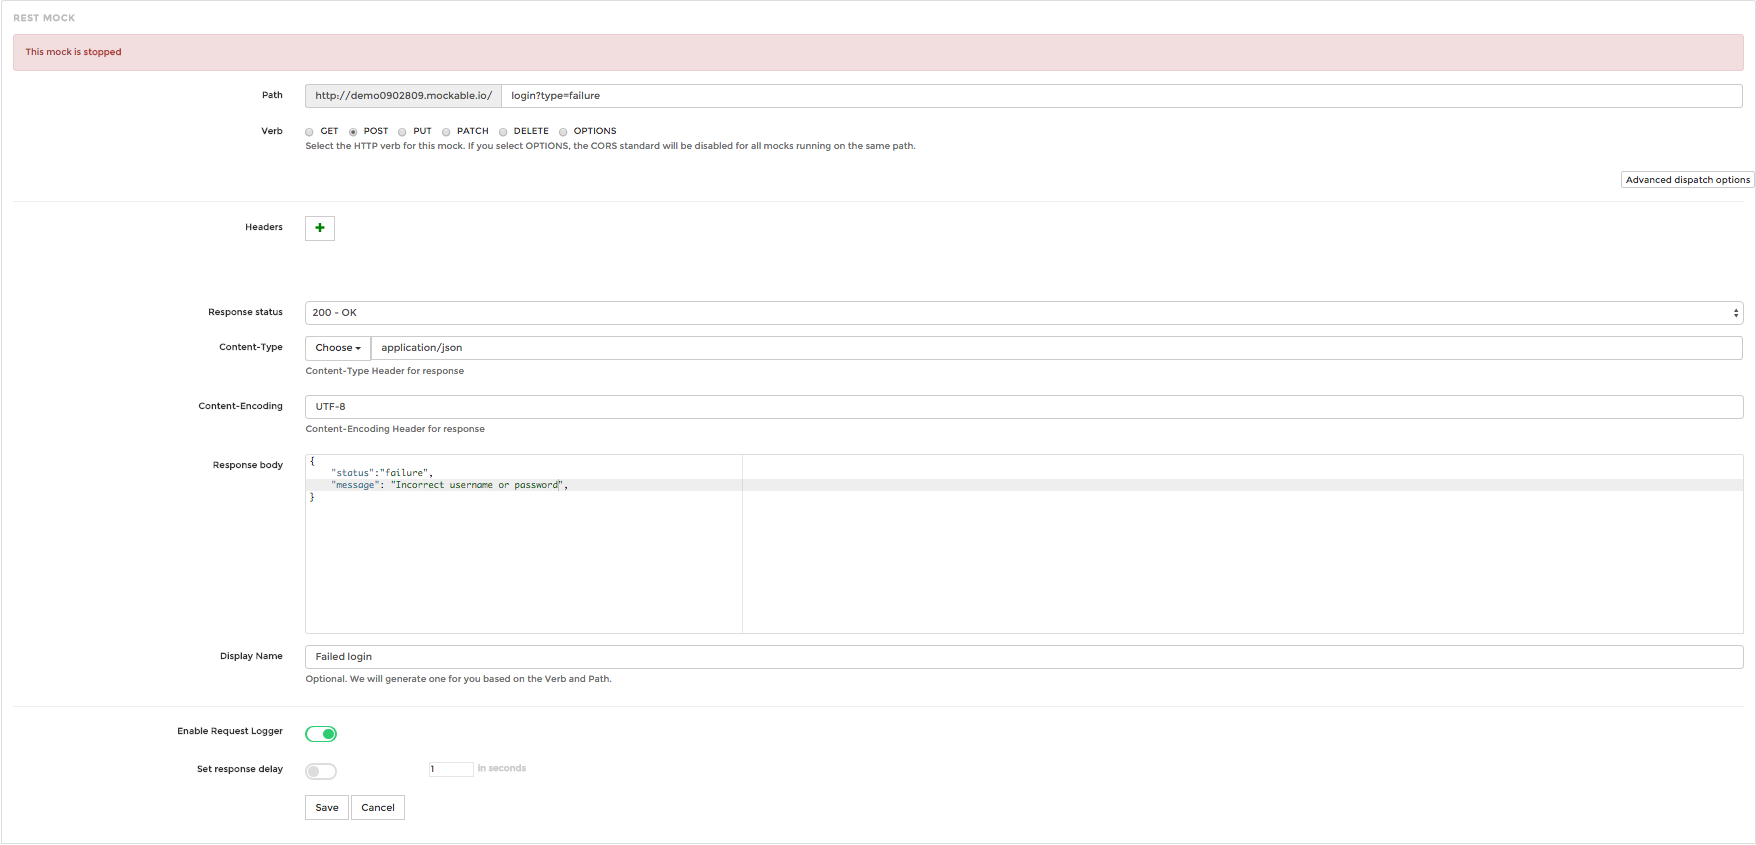
- Repeat for the Login requests.
- You can choose to set the ‘Failed Signup’ and ‘Failed Login’ mocks to return a 400 error code – that’s up to you. You’ll need to set this by heading to your mockable dashboard, clicking on the mock in question, and setting the response status field.

- We now have a Postman Collection that mimics our API. You can share this collection with your front-end team, so that they can start developing their application without having to wait for the API to be implemented.


To save yourself time, you can download the Postman collection via this link – https://www.postman.com/collections/f7d6273cc64fffa86871. Just create an environment and
set the url variable to https://demo0902809.mockable.io
That’s all there is to it!